I know in the world of Ipads, computers and other SMART technology it is easy to look up a recipe with a click of button. Looking up a recipe for a cookie? Chewy? Thick? Thin? Crunchy? Ones that has a filling that melts in your mouth? Just type it into google.
While some of these are great recipes; as a baker I find that it is missing that "something". There is an emptiness that comes with not having a hard copy of the recipe. However I like to return you back to a time that the paper and pen was the only way of passing down a recipe.

It is easy to forget that the recipes we treasure, the ones that everyone raves about and pesters us for the recipe, come from a book or a newspaper clipping. I have a book, well a folder of clippings; mostly stuff I find interesting, delicious and downright strange in desserts and cake. I would show you but the state the folder is in will give the organised a heart attack (or at least a mild panic attack)
To be honest I have been in a rut of all ruts. I might have posted this cheesecake and this caramel tunnel cake of insanity but I did not feel happy about them.

In a moment of terrible cooking or baking block I look to this book for inspiration.
Sometimes you need to dig up recipe from your clipping archives. The smell of old paper, print ink and dust is either the right mix for making you crazy, high or inspired. Either way it fixed my blogger’s food block.
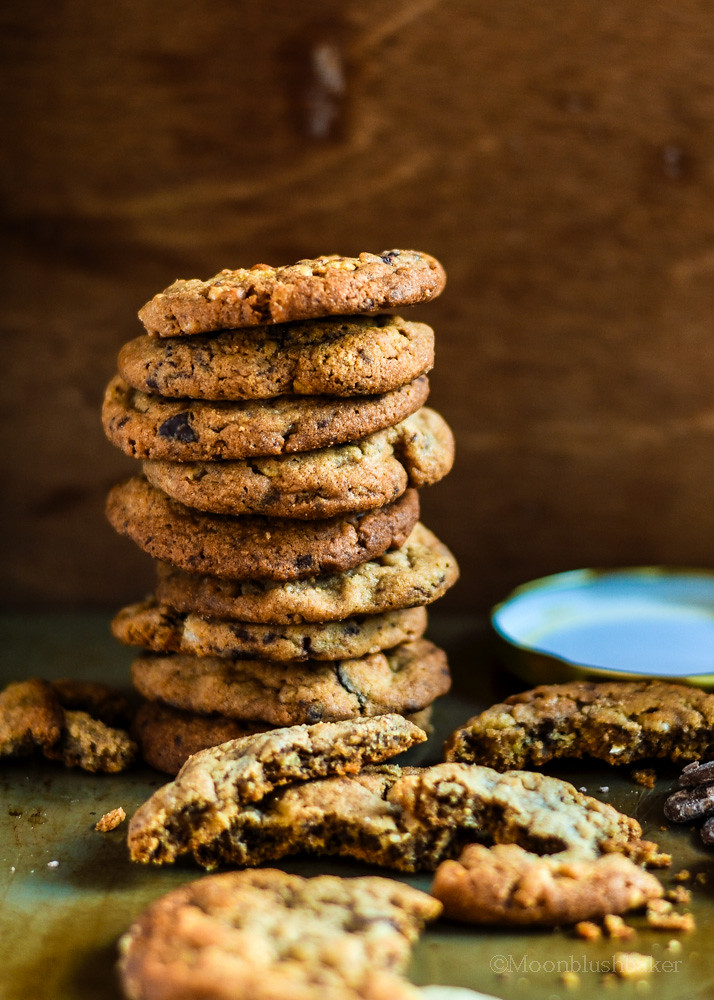
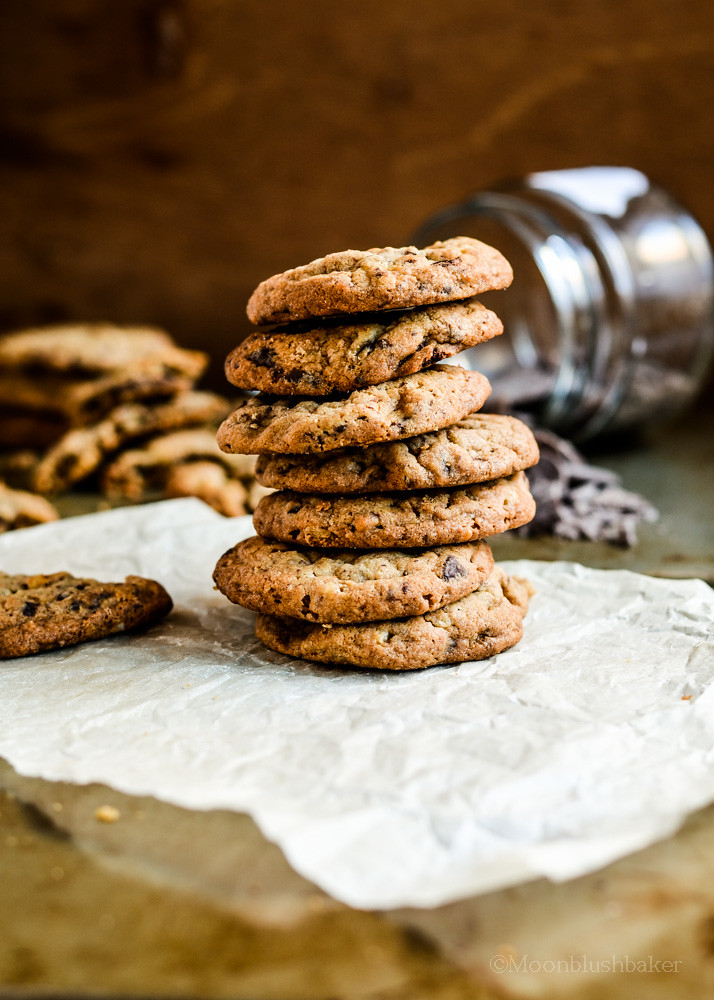
We all know cookies are instant sugar hit especially since they get better when the dough is aged in freezer or fridge. I created this about a month ago and forgot about them in freezer until just recently. The perils of having 2 over loaded fridges, and big freezer. Yes this is a house will only two people in it now, with two other families who visit twice for dinner or lunch each week. As you can see, even if you are as forgetful about food as me; you can have these cookie candy choc chip cookies in your frozen dessert arsenal.
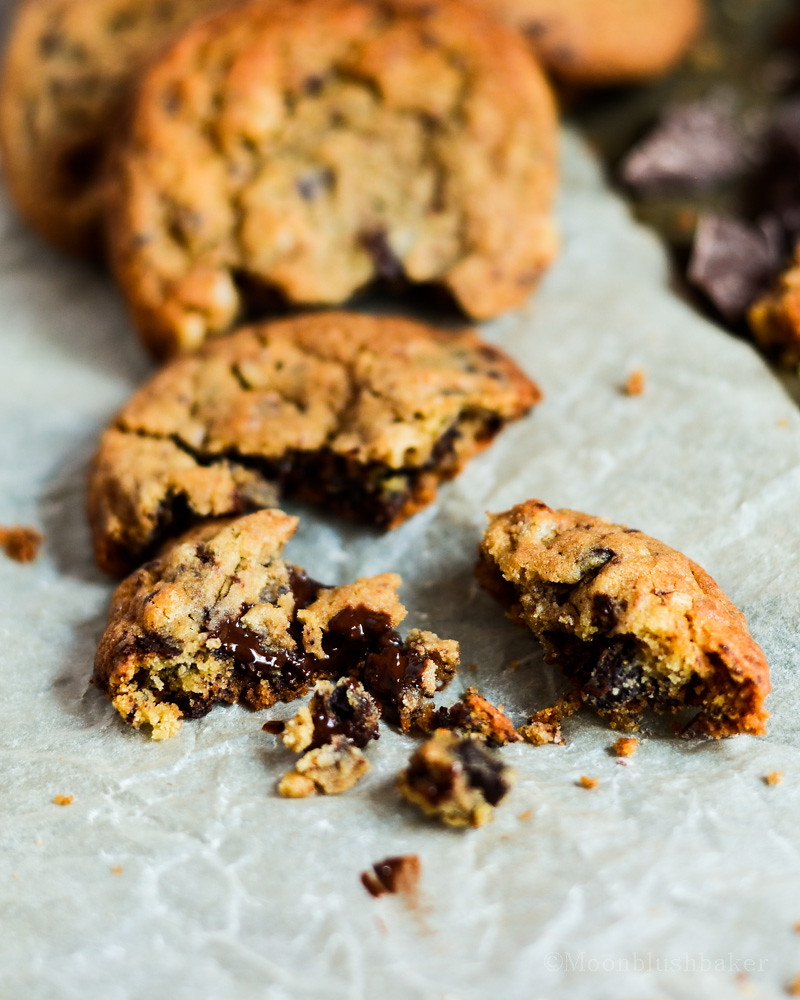
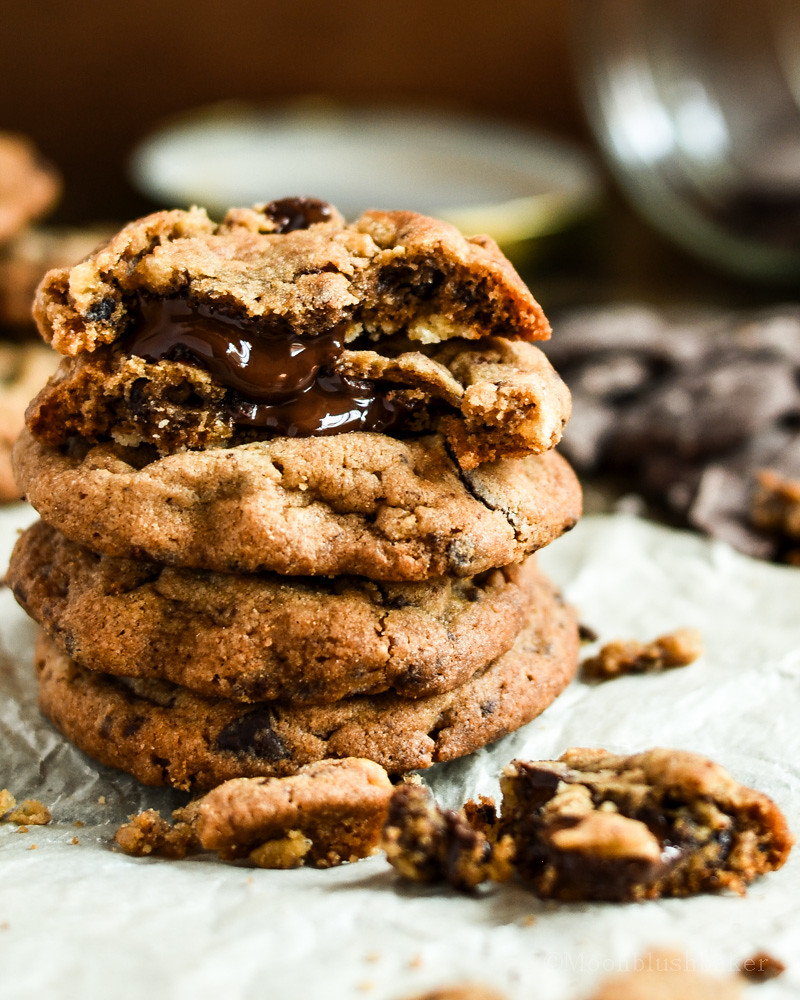
These cookies are based upon many types of chewy middle but crispy edged cookies I have done in the pass. The chocolate is important here as it plays a major role in the melting belly middle you see here in the pictures, as well as adding to the contrast of the crispy bits of coffee candy. While they do melt a bit in the oven; never fear! The candy does harden after once they are cool, so no panic about leaky edge cookies.
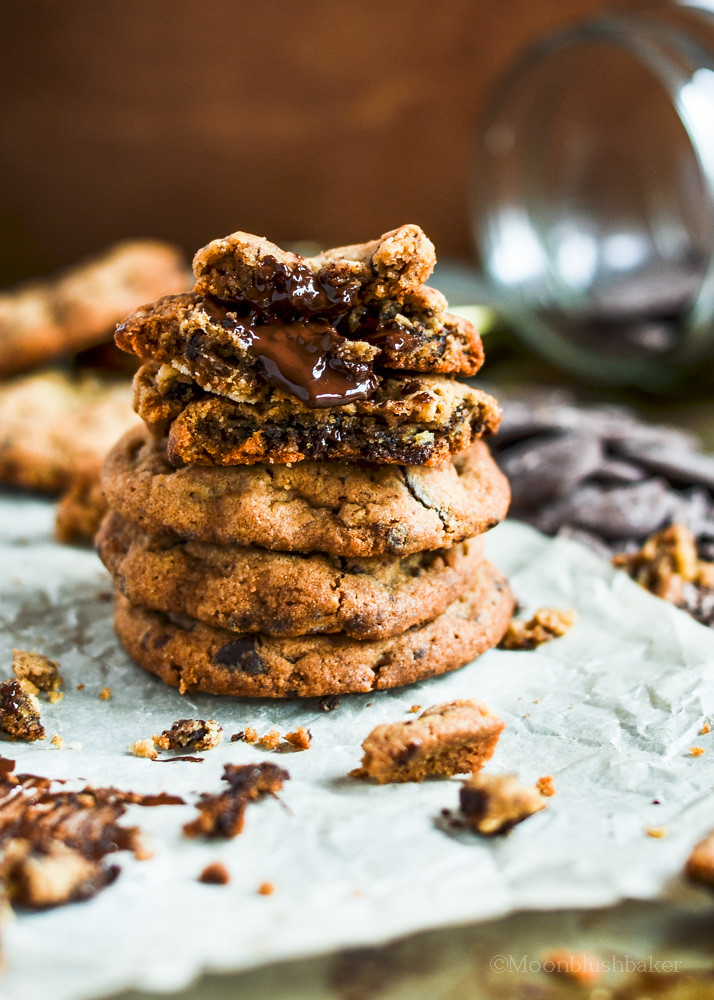
The combination of caffeine in coffee, chocolate and the addictive taste of sugar are a base of a good recipe. However add brown butter and you got an explosive cookie flavour. Yes I might be causing all those people who are on diets for summer a heart attack but it is cold down under; so I can cover up with winter woollies (#luckyme). I have used a special syrup here as the secret ingredient which makes these chewy without having to worry about over mixing. I think Camp coffee syrup is a rare, retro ingredient but like most syrups they make cookies soft. Try thinking along the lines of ginger bread (slightly soft because of molasses) and Honey jumbles (the golden syrup).
Make them when you have the time and freeze them. Trust me, if you keep these babies in the fridge; I am sure your friends will thank you for it. We all know that friends will cookies make good friends and neighbours; so be the best friend and neighbour you can be a make these!
Or you can be a very, very bad and keep them for yourself (I will not tell).
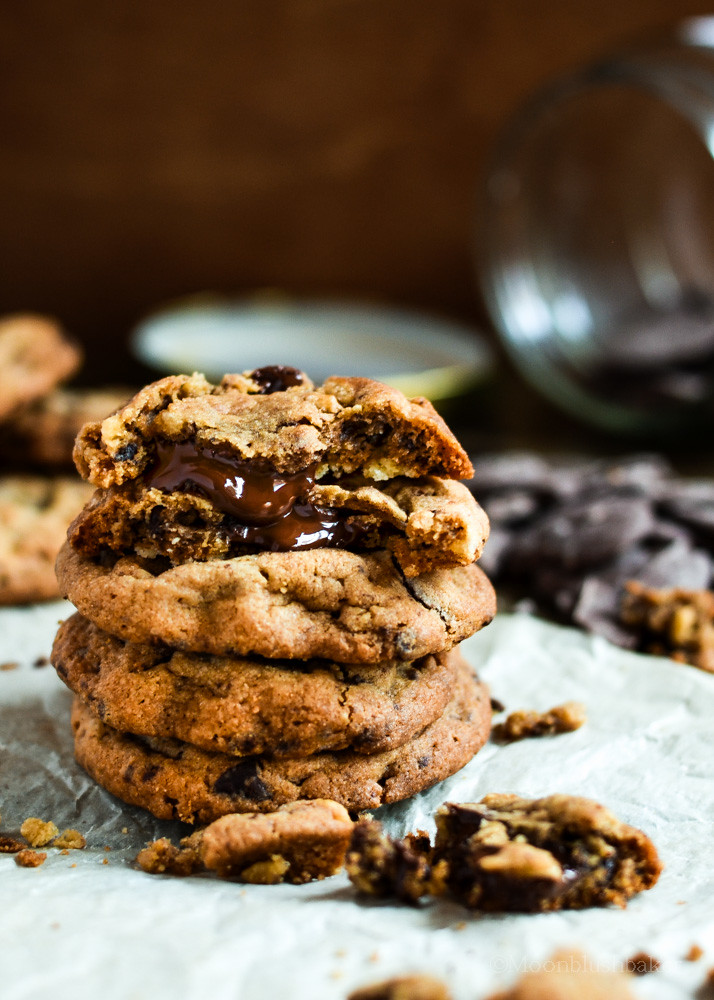
Coffee candy Choc chip cookies
Makes about 3 dozen cookie scoop cookies
230g unsalted butter
160g light brown sugar
40g camp coffee syrup
1 egg
15ml vanilla extract
4g baking powder
6g baking soda
4g salt
295g bread flour
140g dark chocolate, chopped roughly
100g hard coffee candies, crushed
To make the brown butter: Melt the butter in a medium sauce pan over medium heat until it begins to brown in colour and smells nutty. Take it off the heat a little earlier than you think as the remaining heat will finished it off without burning it. Pour it into a bowl and cover it to get semi hard for 20-30 minutes.
In a stand mixer place the brown butter and sugar and cream on medium speed for 3 minutes. Add the egg, syrup and extract and cream for another 5 minutes. You may need to scrape down the bowl so it becomes light and fluffy.
Sift you baking powder, baking soda, flour and salt in another bowl. Mix your coffee candies and chocolate together in small bowl.
Add the flour mix to the butter mix in small amounts. Beat the mixture in the stand mixer beat each addition. In the last 30 seconds of mixing add the chocolate and coffee mix. Beat until it well mixed.
Using a cookie scoop tablespoon divide you cookie dough into balls and place on a lined baking tray. Place in the freezer until hard and save them later use ( place the cookie ball into a zip lock bag to prevent freezer burn once hard). However you can bake them after 4 hours.
Once you are ready to bake. Pre heat oven for 180C and line two cookie trays with baking paper. Take the cookie dough out of the freezer 10 minutes to defrost slightly. Place your cookie balls 5cm apart on the cookie tray and bake for 10-15 minutes until light brown on the edges.
Allow to cool on trays before storing in an air tight tin for up to one week.
You can either call me lazy or unmotivated. Either way I have a good excuse!
This week is Easter holidays, Anzac day AND it is my Birthday (on the 27th). Most importantly my birthday falls on to the week that has never happen before to me before. It has to be the shortest week ever to the weekend. So I am indulging in a Well-known Australian practice.
If you are Australian we all know that Easter Monday is an excuse to drag out an event to get a public holiday. In Australia, we do not have many “country” related events thus we have less public holidays. Therefore it is every Australian’s duty to find any event and turn it in a day off, bonus points better if it is on a Monday or Friday. Yes it is a little bit sneaky but I am NOT going to argue with a day off.

I have thought about other countries too.
America, you have Independence day, Cinco de mayo, Thanks giving etc..
Japan, you have Coming of age day, Children’s day, White day etc..
What does Australia have? Besides the Universal holidays (Christmas, New Year’s). We have three other Australian base holidays. All work and no play, makes Australia a grumpy country
We all know that the weekend is the best time of the week. Who is going to argue not having to wake up at all, eat chips and dips as a meal and being able to rock sweat pants with wet hair as acceptable attire?
I *heart* #longweekends
Yep this post is my blog version of sweat pants. I am taking a break this week from writing but I am still bring you a bit of sweetness.
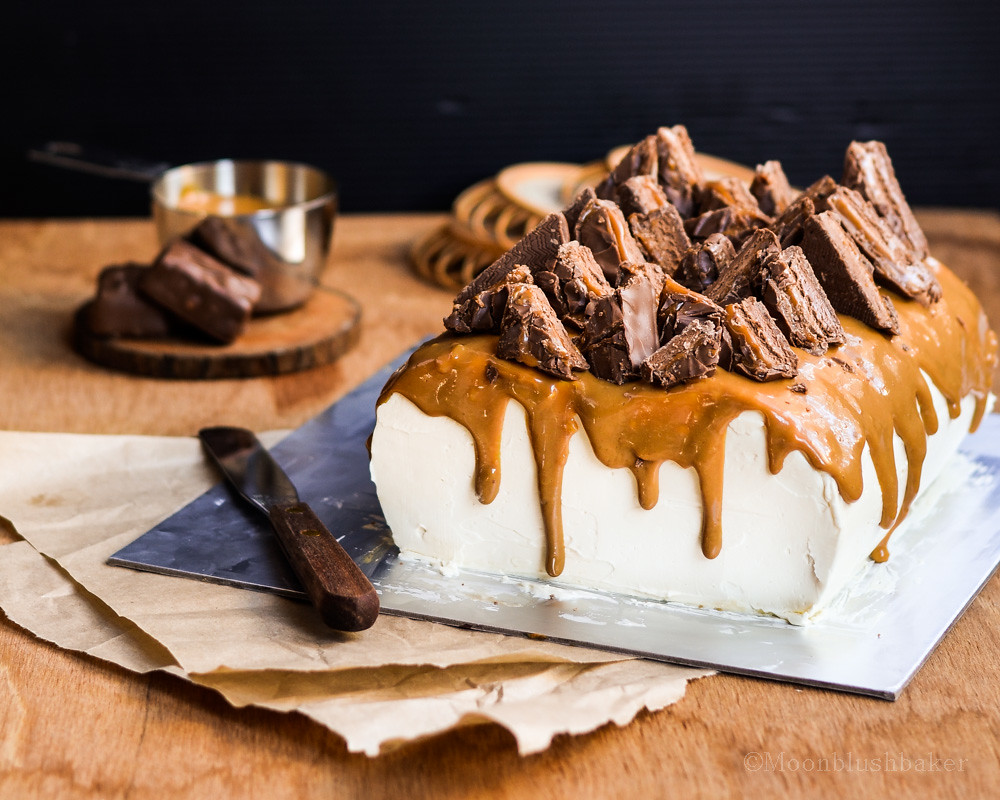
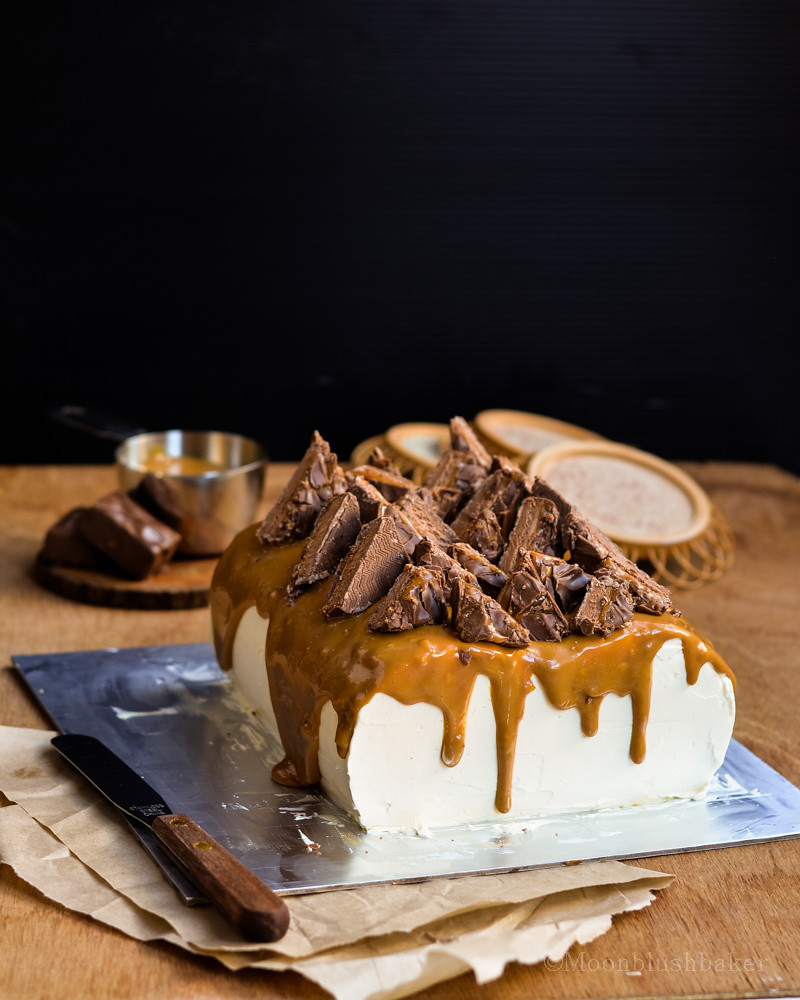
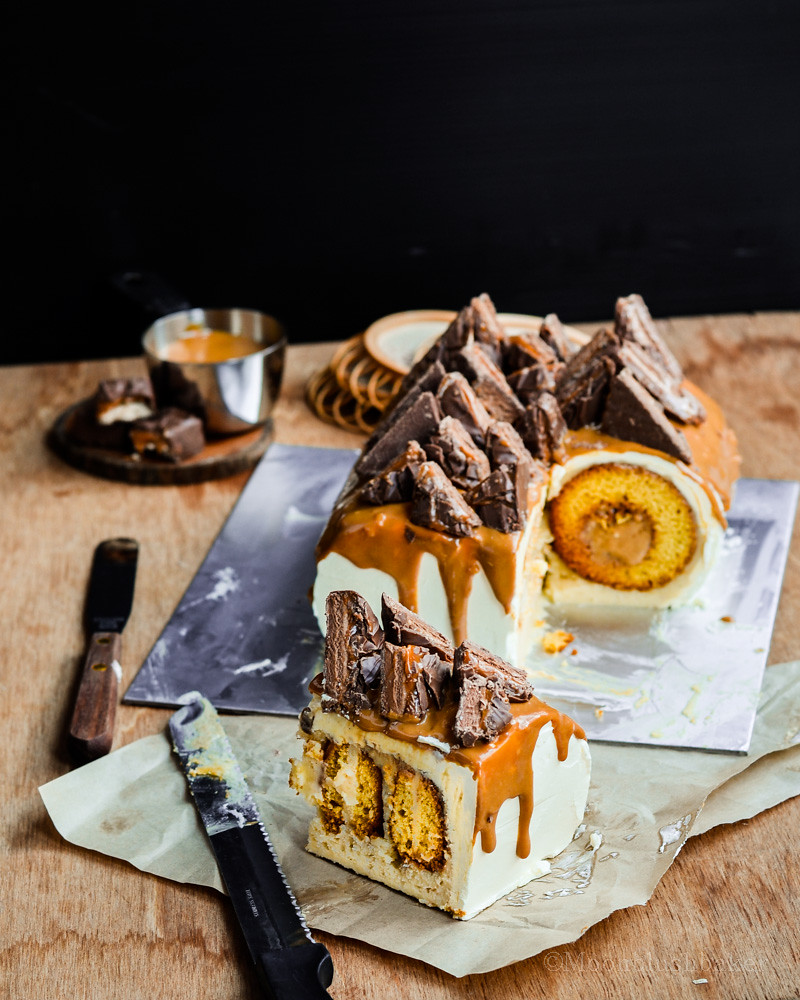
I think this cake is pushing the limits of crazy. Sometimes cakes just happen for me and this one is an idea that actually worked. This Mars bar Tunnel cake is the only for those who love their caramel and nougat. Mars bars can come under different name depending on where you live; but it is the combination of soft, creamy nougat, melty caramel and milk chocolate that has cemented itself into Australian culture.

I will explain the features to this cake starting from that center
The tunnel of thick salted caramel is meant to represent the caramel in the mars bar. When you cut this cake the caramel oozes out like a river. Salted caramel in dangerous amount is welcome on any cake in my opinion.
The dounts are made from an egg yolk based yellow cake. Egg yolks always make cake more delicious. Properties: Fragrant, buttery , soft.
An inner layer of thick crème pasitierre is flavoured with nutty floral honey. More like a frosting than a custard, this creamy thick frosting melts in to a delicious honey custard.
The outer layer is a Swiss vanilla butter cream. There is a reason why this butter cream is used all the time. It is simply addictive and come on! It is butter cream!


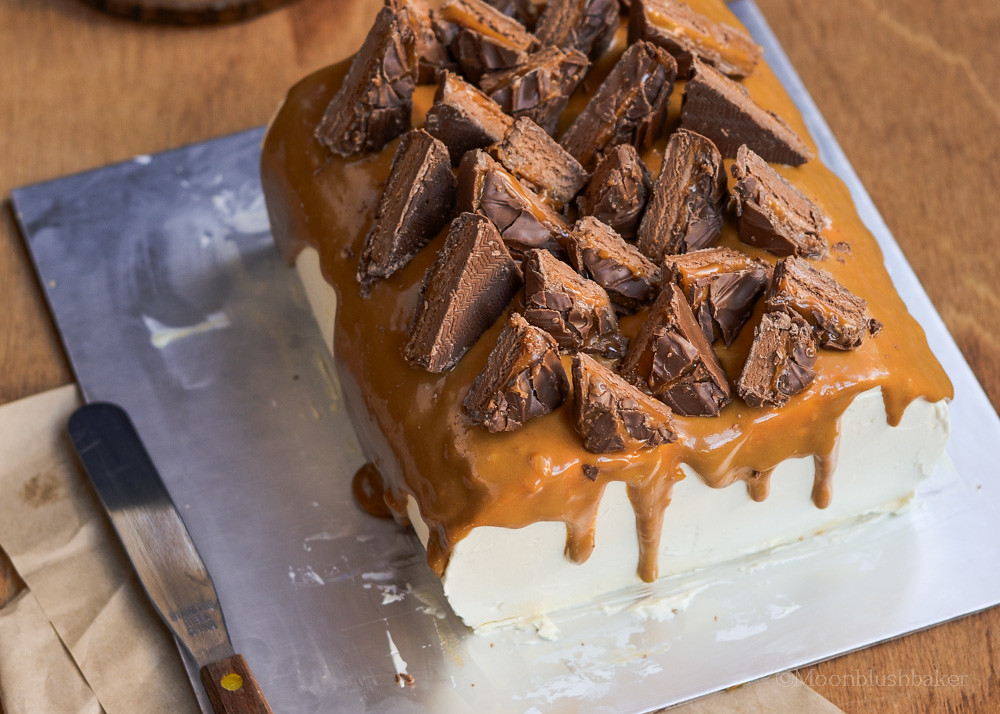
After it is covered in a thick layer of dulce de leche then topped in divided fun size mars bars. Yep the caramel topping is something that put this over the top in so many ways.
The reason why this cake has a bumpy shape is that the cake 'layers' are cooked in a donut pan. I am always looking for an excuse to use cake in other ways other than the main purpose; I call it being resourceful. So it essence it is an ice box cake but you can call it whatever you want.
As much as I like to try and describe the feeling/taste of this cake when you slice it for the first time; my linguistic skills are not up to task. However I hope these photos can show you why this cake very well worth the mess that happen while you are assembling this cake.
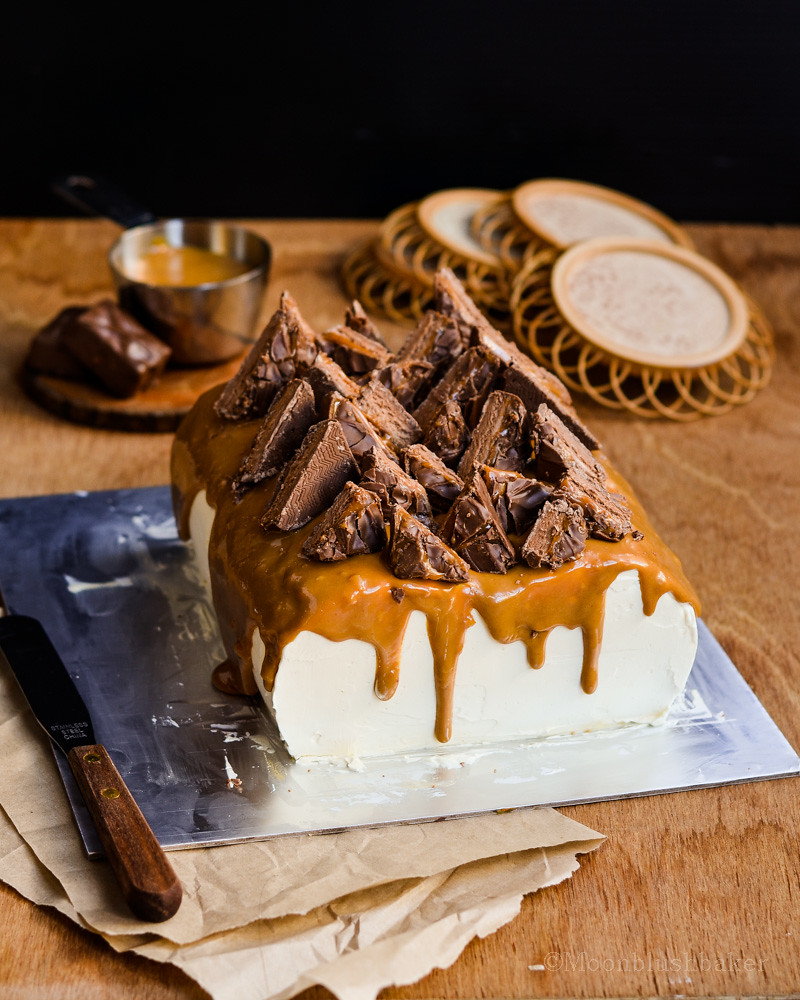
Mars bar Tunnel cake with Dulce de leche
Yellow cake donuts
Makes 12-15
80g butter
130g caster sugar
1 tsp vanilla bean paste
Pinch of salt
7g baking powder
130g plain flour, shifted
30g custard powder
3 egg yolks
125ml milk
50g raw sugar
Preheat oven to 180C,grease your donut pan with oil or melted butter.
In stand mixer place, fitted with the paddle mixer, cream your butter and caster sugar for 5 minutes or until very light and fluffy.
Add vanilla and salt, then beat on medium until fluffy again. Scrape down the bowl.
Add egg yolks and beat for two minutes.
Alternating between flour and milk, add these to the butter mixture. Combine until just mixed.
Using ice cream scoop, fill your muffin pan half way. Sprinkle on raw sugar. Bake for 20 minutes or until a tooth pick comes clean.
Vanilla Crème Patissiere
500ml full fat milk
100ml cream
1 vanilla bean, scrapped of seeds only
6 egg yolks
100g honey
50g plain flour
50g corn flour
2g salt
In a large bowl, beat the egg yolks with an electric hand mixer till light and fluffy. Add your honey 1 tablespoon at a time while the whisking. Set aside when compete
Another medium bowl whisk flours, remaining milk and salt till combined. This forms a slurry. Whisk the milk slurry in to the egg yolk sugar mix until combined
Bring to the boil in large sauce pan 400ml of milk and cream. Add your scrapped vanilla bean seeds and allow to fuse for 5 minutes.
Pour the heated milk into the egg mixture while whisking constantly to prevent any lumps.
Strain the custard back into the sauce pan. Over medium heat, stir the custard constantly wooden spoon; pay special attention to the sides and bottom of the pan to prevent burning. Bring to the boil and “cook out” the flour for 3-4 minutes. You need it to be very thick. Scrape the mixture into a bowl and cover the surface with cling film to prevent the skin forming. Fridge till needed.
Thick salted caramel
Adapted from Cake central
250g butter
400g brown sugar
125g glucose
1 can of condense milk
40g pure cream
2 tsp vanilla
5g Pink sea salt flakes
In a heavy base pot; bring to the boil butter, brown sugar, glucose, condense milk on medium to low heat while stirring constantly with a wooden spoon.
Once boiled, remove from heat and whisk in cream.
Return to the flame and boil the mixture until it reaches 118C degrees on a candy Thermometer. Remove from heat and whisk in vanilla and salt.
Fridge for 2 hours until very thick and set.
Assembly
One batch of Yellow cake donuts
One batch of Honey Crème Patissiere
One batch of thick salted caramel
One batch of Vanilla Swiss butter cream ( get recipe from Bravetart)
One jar (390g) of dulce de leche ( You can use ones you buy from the store or the home made kind from the can)
Chopped up Mars bars (Fun sized)
Fill a large pastry bag with thick salted caramel. Cut the donuts in half, length wise, so end up with 24 half donut shapes. Beat the crème patisserie with a spoon till spreadable. Prepare a cake board for the cake by spreading a layer of butter cream on the board.
Using the crème patisserie, sandwich the donuts half together till you get a large cylinder. Fridge for 30 minutes. Turn the cylinder upwards so the hole is facing the roof. Pipe the caramel into the hole, using a chop stick or long thin spoon to push the caramel down the tube. You may also turn it around and go the other way if it became too difficult to fill. Place the cakes on the butter cream. You will get two rows from this recipe.
Spread a rough thick layer of crème patisserie all over the cake, following the shape of cake. Freeze for 30 minutes.
Once the crème patisserie is firm, spread the final layer of butter cream. You may do this in two steps (one crumb layer and one final nice layer). Fridge for one hour.
Once ready to serve. Warm your Dulce de leche for 20 seconds then pour it over the cake, gently pushing it towards the sides so it drips down the sides. It will set quite quickly. Place over your shopped mars bars. It is ready to serve but it will keep for 1 day, covered in the fridge.
As you might of guessed this coming week my family is ACTUALLY doing something for Easter. Not since I was 7 did we ever do something as family for Easter. It was mainly my mum taking me to Easter show so I could purchase an insane amount of candy and novelty trinkets that seemed so important at the time; only to be used and broken within a week. Ah.. the memories.
 However, the only reason why we are putting in the effort is because of one very special little girl. You have probably seen the many cakes I have made my darling little niece. My family have done a lot of out of character family celebrations ever since my sister had a baby. Not that I am complaining, I really love the fact it has brought us together. I maybe experiencing the side effects but for some strangle reason this bonding is fulfilling the lack of family time in my teenage years.
 Did I ever mention that I was a very antisocial, angry teen too? So this is a big change for me.
Like most families, we do not resemble the Brady bunch. There might be three daughters but only brothers I have are the one my sister’s made their husbands. While the relationships between our families has progressed enormously, it was not always this casual. In fact, the distance between my middles sister’s in-law and my parents was slightly frosty; I am putting it down to awkwardness and a lack of conversation starters.
For any of you who have recently had a baby enter the family or get a new niece, nephew or cousin; How many times have you celebrated, complete out of the blue, “Their first” event or celebration? An example? My first 100 days, my first dress up party, My first Easter, my first bath. The list goes on. Some have gone as far my first solids party; but that is another story.
Are these events in your life because a new little one helping you develop better bonds in your family? I would love to know if you have experienced this too! Also leave your ideas for things families at family gatherings do. It may seem a bit dumb; but I really have no clue how to go about family time these days.
On a side note: It must be so exciting for her but what about the year after? It must be so disappointing for babies once they past one. Well they may not know they are disappointed but once you have turned one, there are significantly less parties and gifts which come your way.
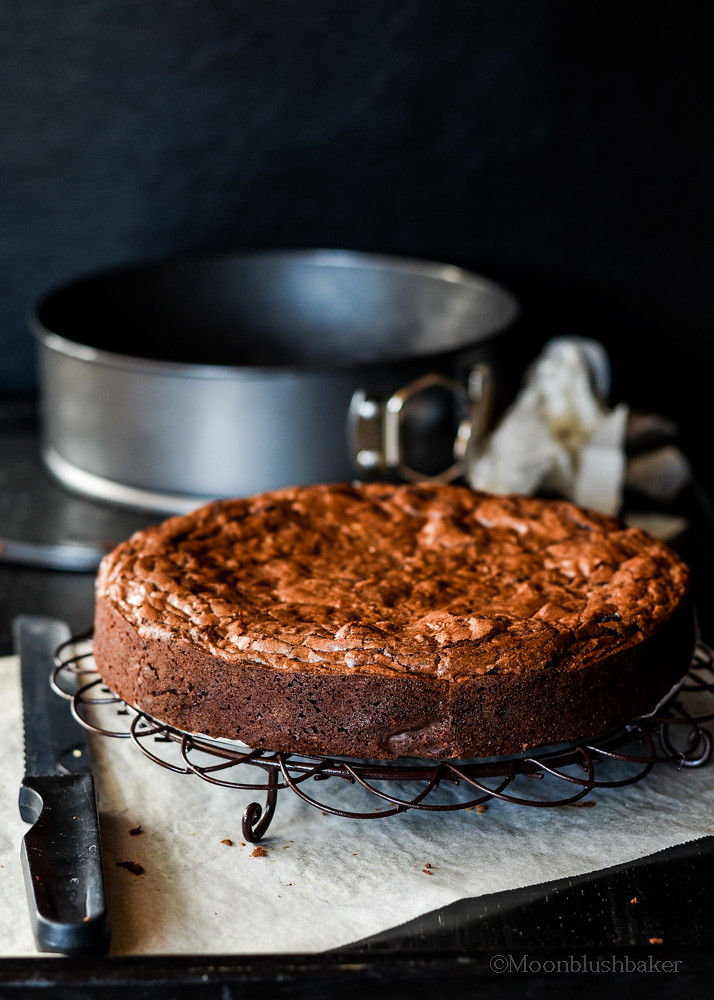
Anyway, enough of my blabbing about family thoughts and on to these Brownies.
Now you might be all eating egg shaped, bunny shaped or chicken shaped chocolates right now but for me I have never really got into Easter eggs. Sure they are perfect to look at and I am looking forward to sale after wards however even though it is the same chocolate; I do not enjoy it as much….
Yes, shaped chocolates do not make me a happy chocci-mite.
I would rather square (or half a block) of that same chocolate. I have fallen in love with the crackle or the wrapper and the perfectly shaped rectangle with those little squares. Charlie and the chocolate factory is my picture perfect movie (well the number of chocolate blocks is).
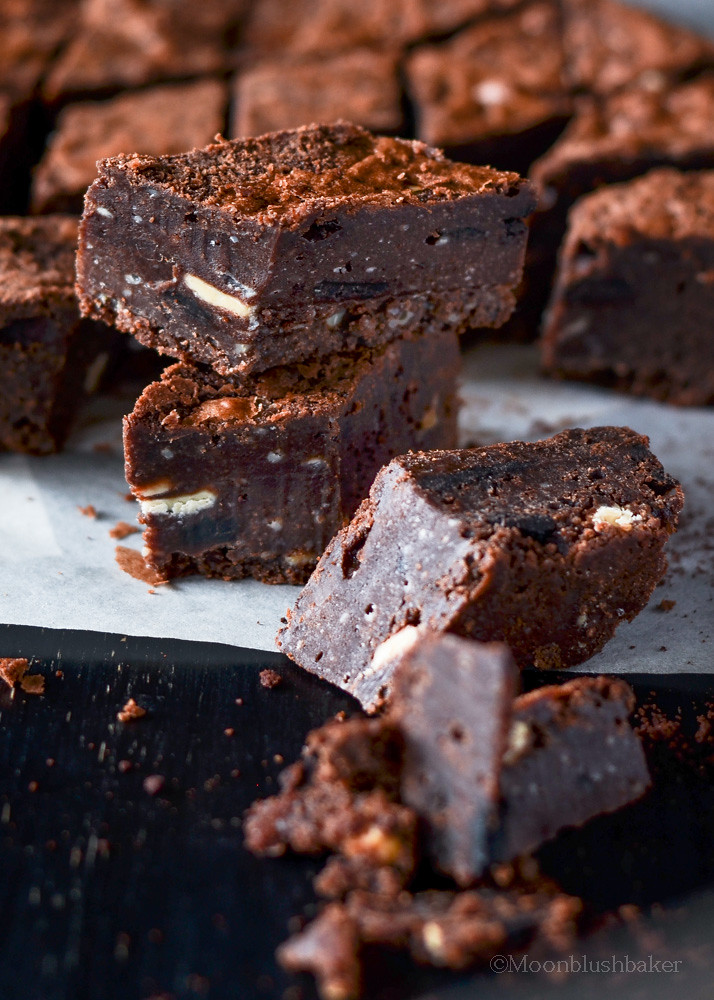
Well if you are like me; I will turn that Easter chocolate into something I would rather eat. Brownies are ridiculous easy, taste phenomenal with a small list of ingredients and most important, are up their with one of fave desserts. This is coming from someone who is very picky about chocolate cakes; they must not be sweet but bittersweet. Have a hum of spice and cocoa laced; no powder stuff here, just pure dark chocolate. I am impartial to adding extras in to brownies, they are delicious as they are, but this time I am going rouge. You know the only thing I could make brownies more addictive is add coffee and alcohol.
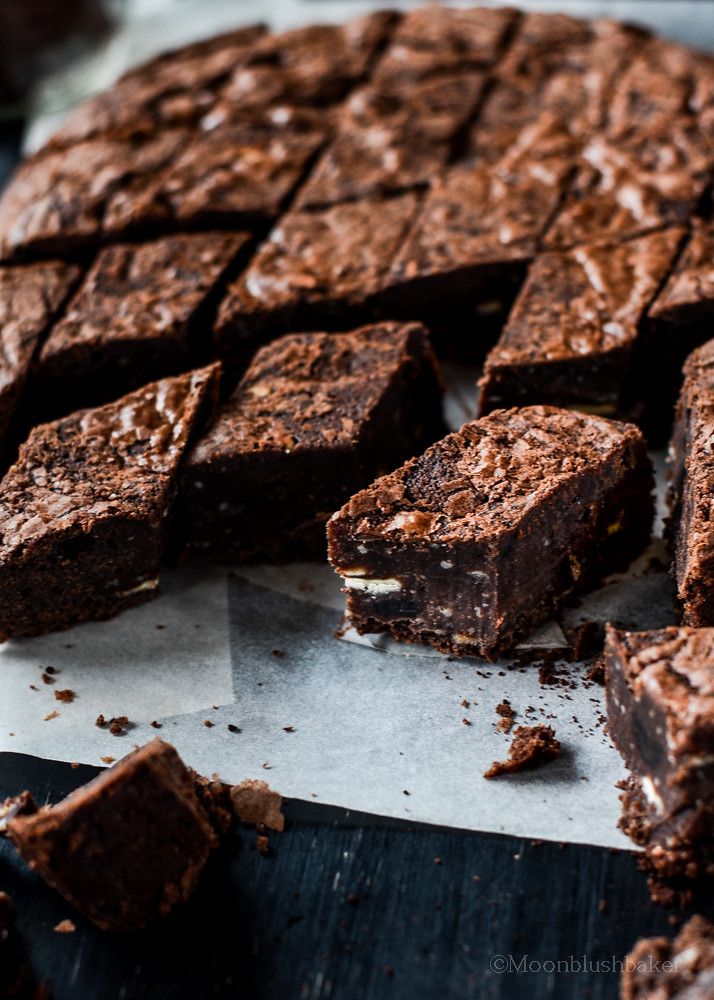
Yep I have made the most addictive substances in to one dessert…. A triple threat in other words. For those of you going into summer will hate me.
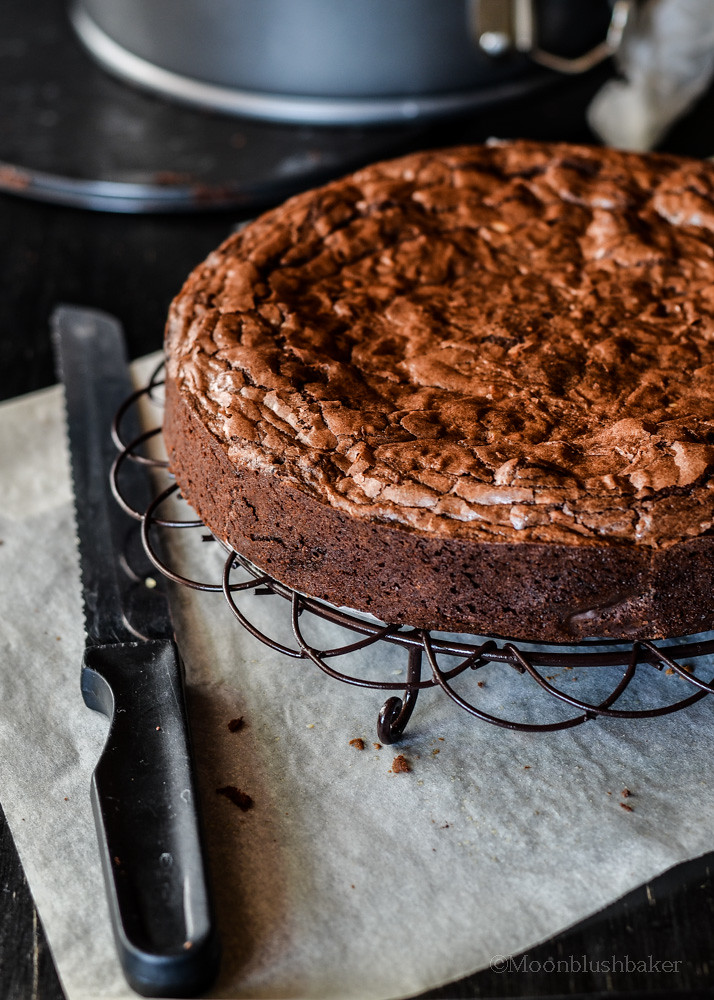
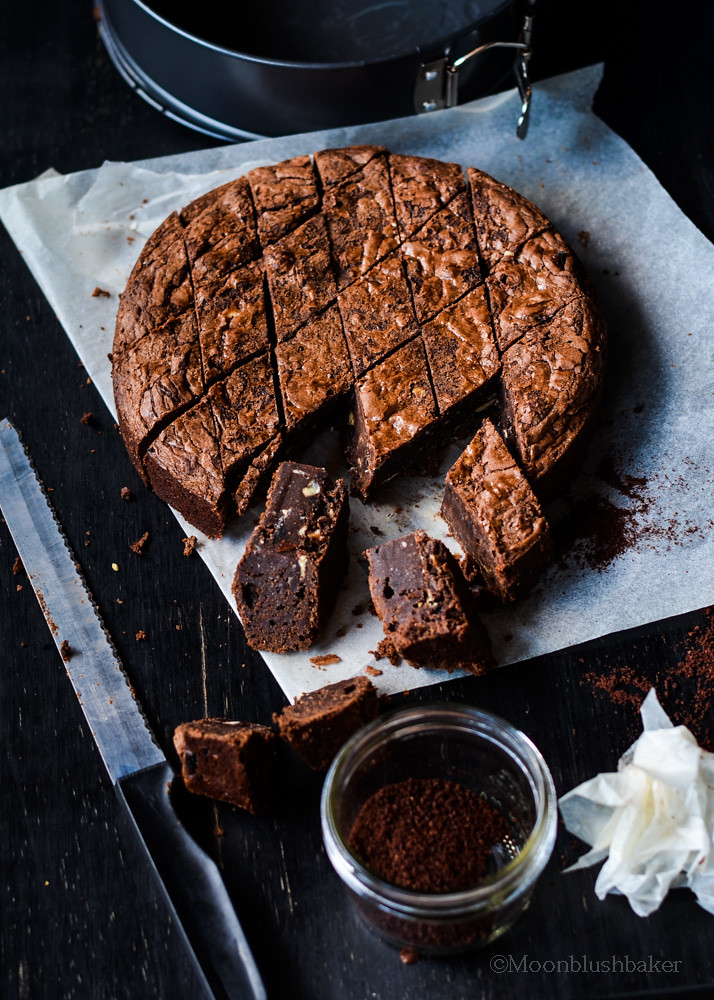
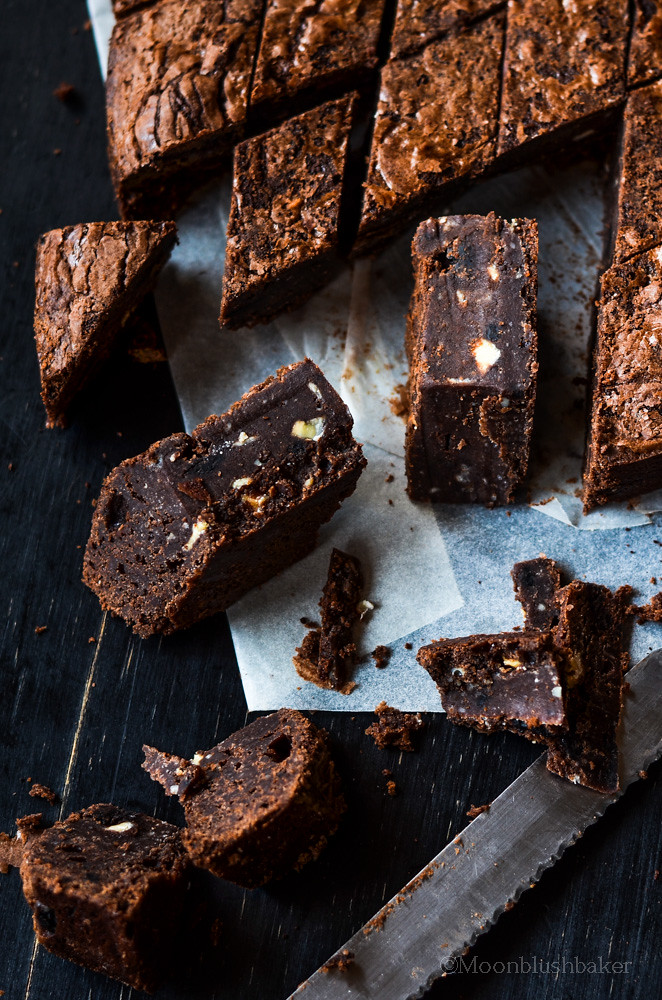
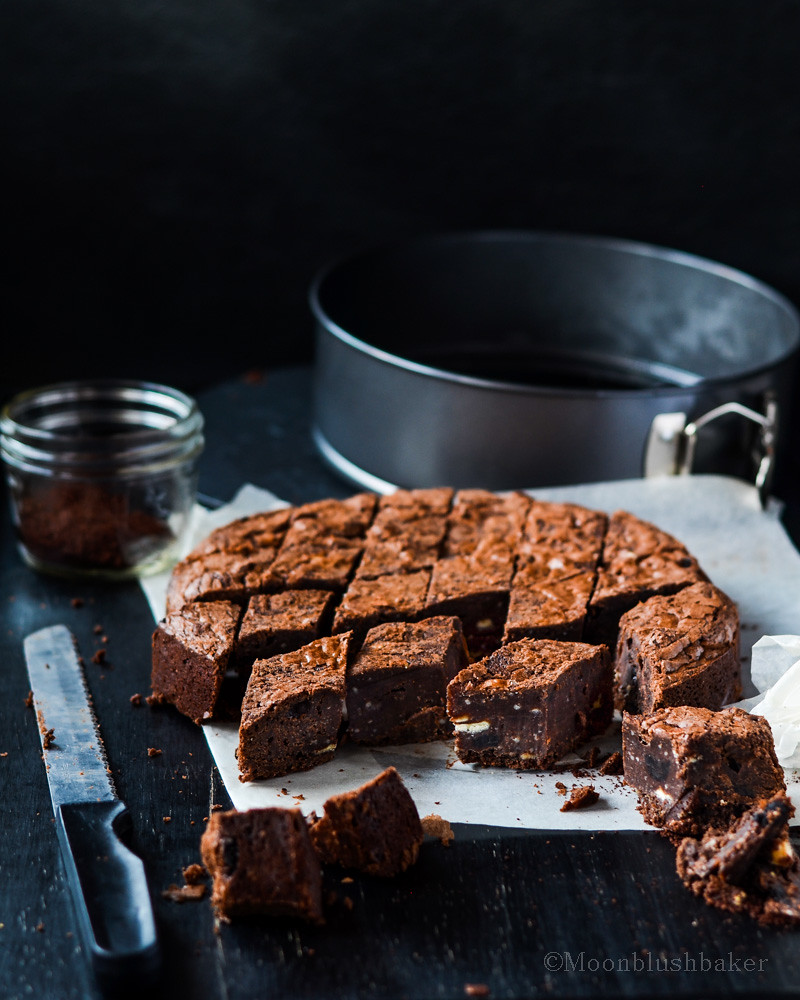
Anyway this is base of a really simple formula for crackly top, coffee crunch brownie bars. I know I baked in a round tin but here me out I was too lazy to find a new rectangle pan. These brownies are rich, fudgy with the subtle crunch of crushed white chocolate covered coffee beans. I used Tia Maria here to add extra flavour but you do not have to.

Triple Threat Brownies
230g butter
230g unsweetened dark chocolate (85%)
140g caster sugar
100g dark brown sugar
2tsp vanilla extract
140g plain flour
4 eggs
1tsp pink sea salt
120 white chocolate coffee beans, crushed
30ml Tia maria and Kahlua
Pre heat oven to 160C. Line an 8 inch square tin with greased foil. Set aside.
In a large saucepan melt together butter and chocolate stirring occasionally until combined. Stir in sugars and salt. Cool for 5 minutes.
Whisk in eggs one at a time. Stir in flour and liquors until combined. Fold in white chocolate coffee bean pieces until fully combined.
Bake for 25-30 minutes until the edges are set but the middle is slightly underdone. Another way of telling is to push your finger gently into the brownie edge; if ready it will be springy.
NOTE: It took 40 minutes in a spring form 23cm tin here
Cool in pan and fridge overnight. Cut into as many or few as you like (We all know four pieces will be nice)

I hate a love hate relationship with this question. Like magic, it conjures up determination and inspirational ideas from thin air, or causes the thinker to be dunked in to a shallow pool of self-pity. The double edge question in other words. How many times do you guys ask what if in a day? Are you like me and have a borderline unhealthy relationship with this question or do you rarely question what happens in life.
Many of us have asked this question, one time too many in some cases. Of course depending on what if? Question topic it can incredibly fun. The time where you tried to be the mix master of your new juicer/ blender/ smoothie maker; only to have a ruined a perfectly good recipe be thinking what if I added some heat? All spice? Ginger? nah. Chilli? Hmm… why not?
 It can bring a sense of accomplishment. What if I try to make a cake this way? Or mix a batch of chocolate chip cookies that way? From that simple edge of curiosity, you have created a recipe that you adore and can share with others.
Nothing is more satisfying when you get the compliments about them from friends and family. Second, third or fourth helpings, warm smiles when they eat it and the well-known “mmmm” once they have taken that first mouth full. All these things are what every baker looks for when they give people a taste test of a new recipe.
 On the flip side “what ifs” have a very dark side too
Anything terrible that happens. What if?
Anything that confuses us occurs. What if?
Anything we do not like about selves and wish we could change, What if?
Honestly anytime we get upset. What if I could prevent it?
I know this may seem more like bad poem than blog post but it has been just over a month since that day. I have not appreciated what life has thrown at me this year but I have come to terms with it; tragic stuff will do that to you.
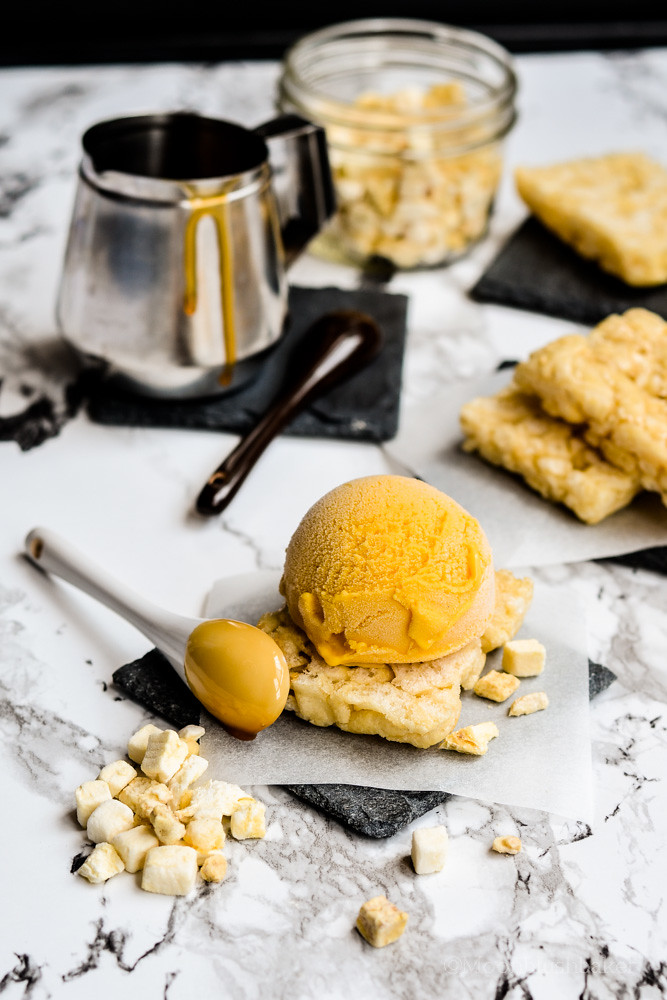 This recipe once again is using the mangoes from this season harvest. As the weather cools down in Australia; we have been left with a lot of mango puree. Of course freezing it is the only way to go with fruit but it does mean now I have almost 8 liters of mango puree sitting in my fridge just waiting to be use in some baking.
It might be cool and rainy here but I will always #foreverlove ice cream in winter. I am one of those people who cannot stand the heat but have no problem in the cold. Last winter I navigated through in just a sweat suit jacket and pair of shorts for a majority of the season; maybe it is just getting warmer down under. I am going to say thank goodness for the cold this year because at least I can cover up the winter gains with lots of layers.
Layers are so trendy now, so I am just being fashionable not gluttonous.
That’s my story and I am sticking to it!
 Anyway I came across a new book from one of most notorious ice cream parlours in Sydney. If you think Ben and Jerry’s is good, this is like Ben and Jerry’s on steroids. Well Messsina have some far out flavours in their mix; fried chicken anyone? but what I am more interested in this the formula they use to make ice cream with. While they may not have same philosophy when it comes to using stabilises in their ice cream (they are not evil! - Serious eats), the flavour combos and the texture of this homemade mango ice cream surpasses the typical homemade stuff. This is creamy even room temperature for longer than 10 minutes.
No grainy textures or gummy texture which comes with using stabilises. Also the best part for me is the amount of eggs which I use now for making ice cream. No longer will I be using a dozen eggs yolks for 2L of ice cream; the chickens have got to be happy about that.
Yes I think about the work chickens put into delivering us those golden yolks. What? Someone has got to care about our chicken friends.
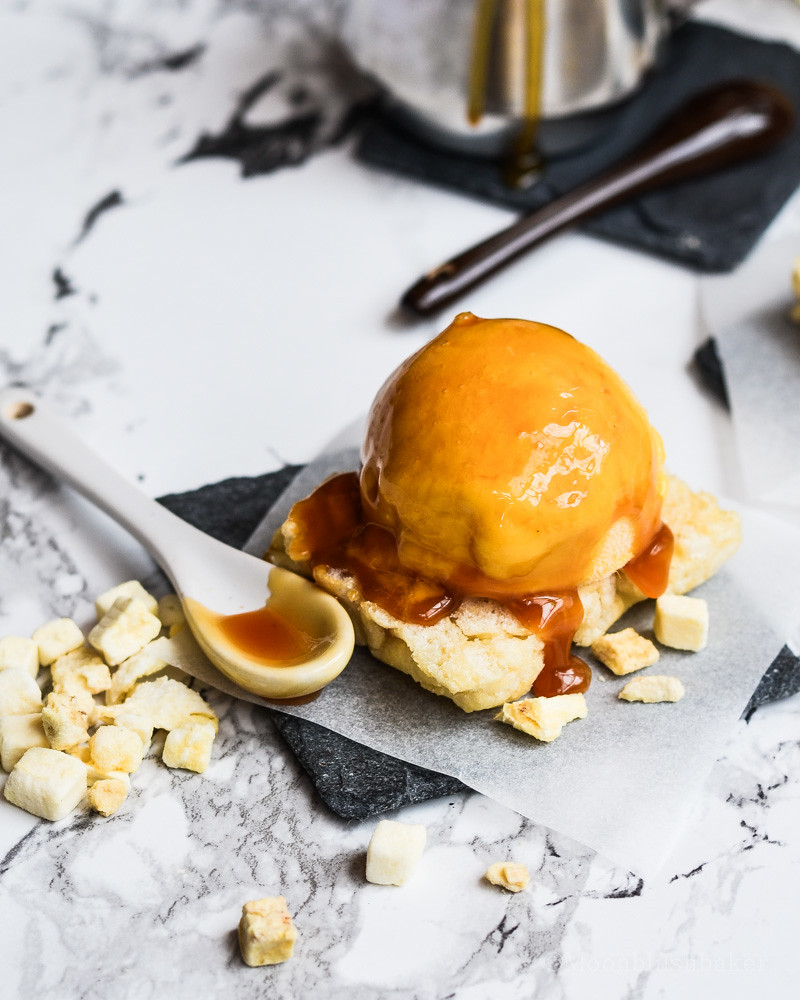

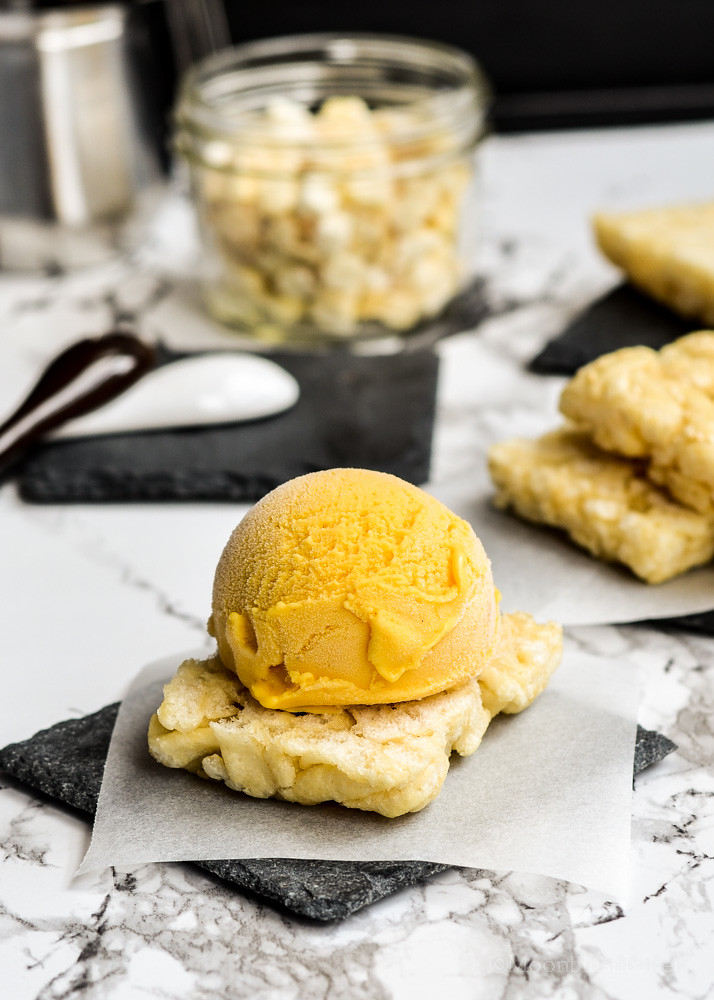
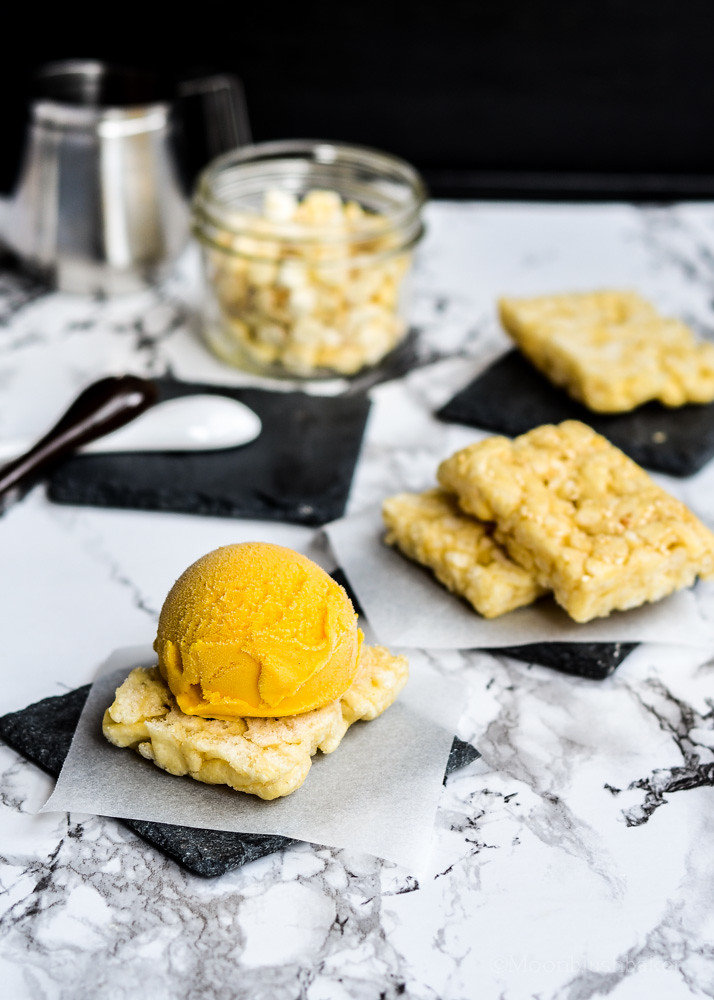
 These tropical ice cream sandwiches are the way I am saying good bye to summer. The addition of freeze dried fruits such as pineapple and orange become large bits of fizz sherbet. NO need to get out the dip sticks here! The ice cream sits on a fried sweet dough you can get from the Asian supermarket; they are the porous carrier which soak up that creamy goodness as it melts. Yep I am saving ever drop of ice cream here.
The mid sourness to our very creamy mango ice cream with that fried sweet dough biscuit. With palm sugar Caramel sauce too? Nothing is ever too OTT for dessert. See even a dessert without chocolate can make you drool.

Tropical fizz ice cream sandwiches
Recipe from Gelato Messina; The recipes
Mango gelato
Milk 340g
Cream 150g
Sugar 100g
Skim Milk powder 30g
Dextrose 25g
Stabiliser 5g
Puree mango 350g
Place milk and cream in a large bowl over a pot of simmering water.
Whisk in powders in a bowl and mix to combine. Bring milk and cream up to 40 degrees C; after whisk in powders and bring the mixture up to 65 degrees C. maintain the temperature at 65 degrees C while whisking constantly.
Pour the milk mixture into a stainless steel bowl. Using a stick blender add the mango puree to the milk mixture while blending it.
Place in the ice bath and chilli it to 40 degrees C. Cover with foil and place in the freezer, stirring every 10 minutes until the temperature drops to 4 degrees C. Once it becomes cold enough, place it in the fridge and let age for 4 hours.
Once you are ready to make the ice cream. Make sure you have frozen your ice cream maker for at least 24 hours. Take the custard out and use a stick blender to mix for 1 minute. Pour in to your ice cream maker and churn for 20 minutes (it should reach -4 degrees C). Place in the freezer until it is ready
Palm sugar caramel
Recipe from Long grain: Modern Thai food by Martin Boetz
100ml water
60g rock sugar, crushed
220g palm sugar, shaved
60g black palm sugar, shaved
1 pandanus leaf
Combined the water and sugars in a heavy based sauce pan over medium heat. Bring to the boil.
Reduce the fire to low and boil for 5 minutes. Add the leaf and cook for another 5 minutes. Take off the heat and leave to cool to room temperature before serving in a sandwich.
Assembly
One scoop of mango gelato
Freeze dried pineapple and orange
One serve of palm sugar caramel
One fried sweet dough cake (purchased from Asian groceries)
Cut one Fried sweet dough cake in half. Place one scoop of gelato on top and drizzle over caramel. Place freeze dried fruit on top. Finish the sandwich off with the remaining dough cake. Serve immediately.
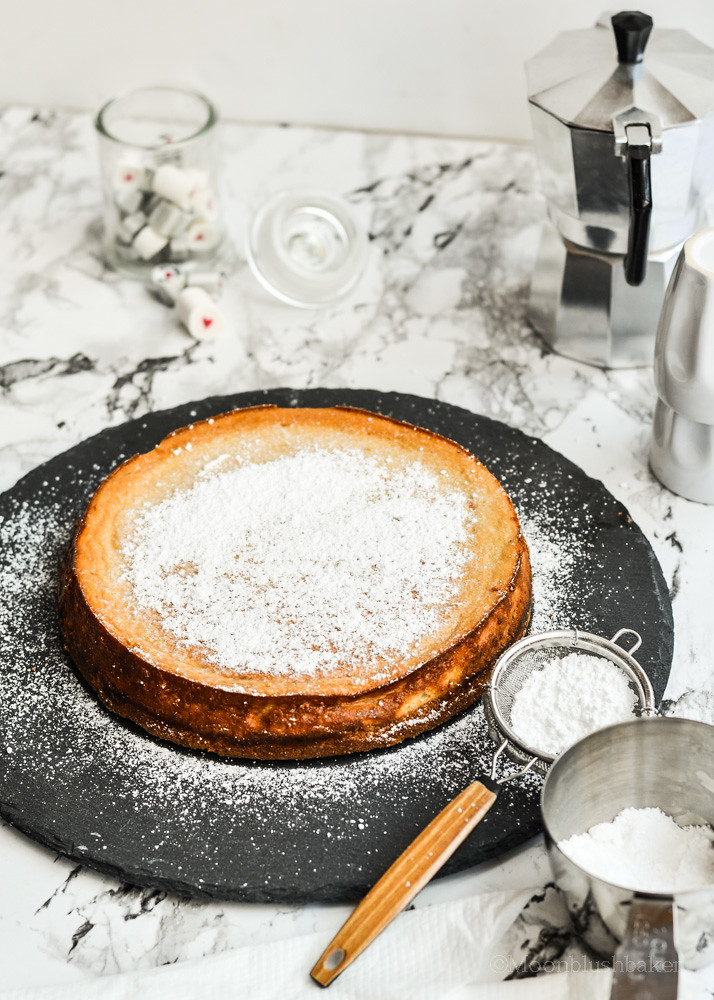
I must sound like a really pain in butt sometimes. That up tight, stick to rules, Miss manners who is buzz kill at any party. Well at least this is the persona, I have been told, that I portray whenever I bake something; in particular fancy cakes. Like the classic pre horror tale, I am experience a sense of satisfaction but the price is I do have a lot of unnecessary conflicts with others. Gosh I have my own Mr. Hyde and the drug which unleashes it is my obsessive nature in kitchen.
Come to my dark side, we have cake for you…
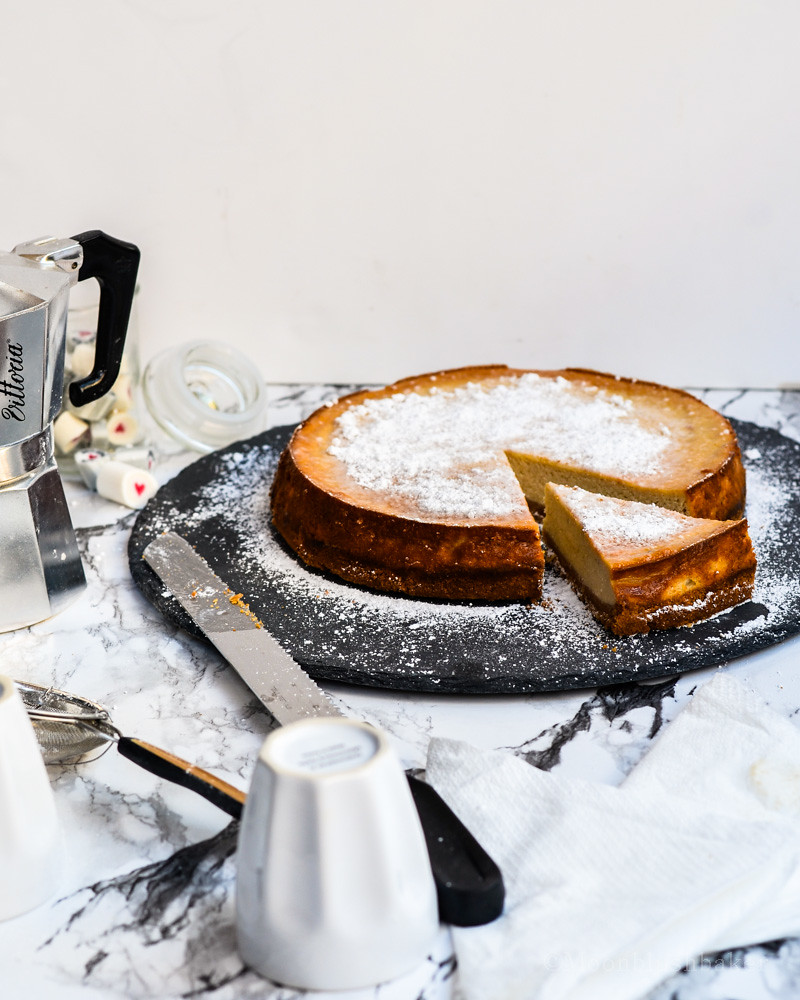
Like the story I really try to not fall into the trap of it. I struggle against my need to weigh all ingredients to the T. The salt is measured to the gram in sweet recipes; NOT EVEN the odd sprinkles and M&Ms is spared my wrath. Come to think of it I haven’t used a cup measurement in years…. Beside for the odd holding of chocolate chips or in photos (yes, my kitchen does not look that nice nor is the set up practical when you cook the real thing)
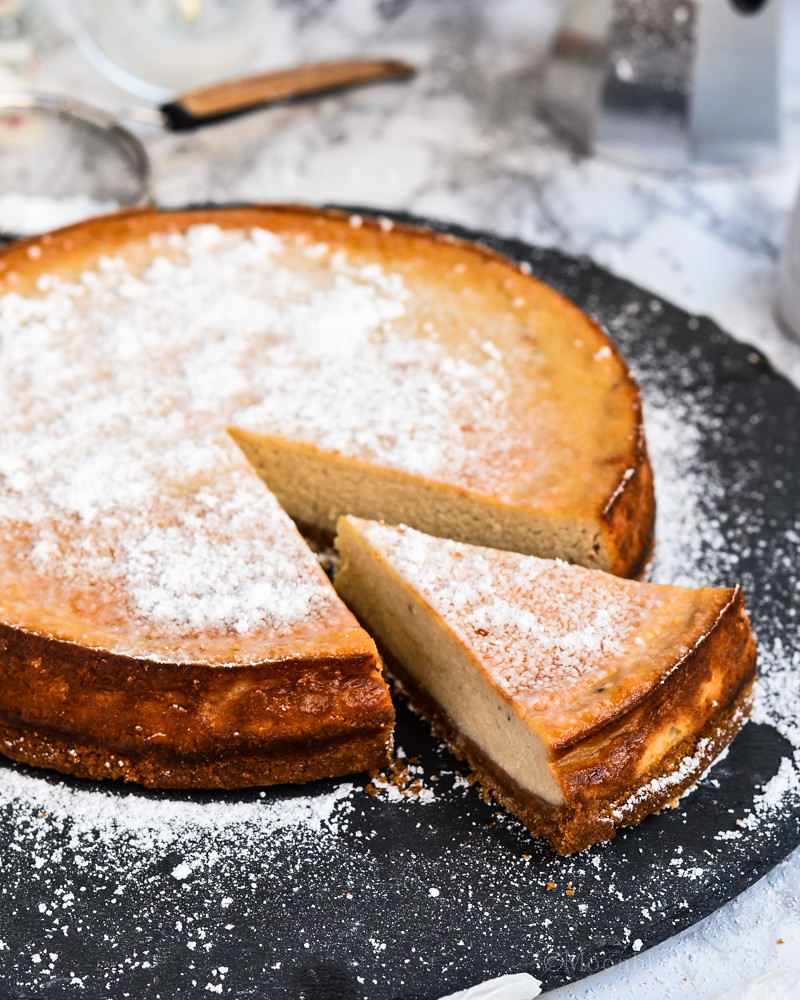
The worst part about it is I become incredibility short tempered if anything is misplaced or my things have been tampered with. I know nobody means to be annoying (well at least I hope so) but when you have to run across the room to get a baking tray THAT should have been in the kitchen. RAGE!!
I remember the last time I really lost my nut was when my dad opened the oven door while I was baking the last batch macarons. Not a big deal right? Not when you spent most of that hour testing out the oven to find the perfect temp and testing out a better macaron method. That night was not a pleasant for people around me.
I guess you could call it burning the dessert calories. Being evil takes work you know! Maybe that’s why I can eat cake almost everyday.
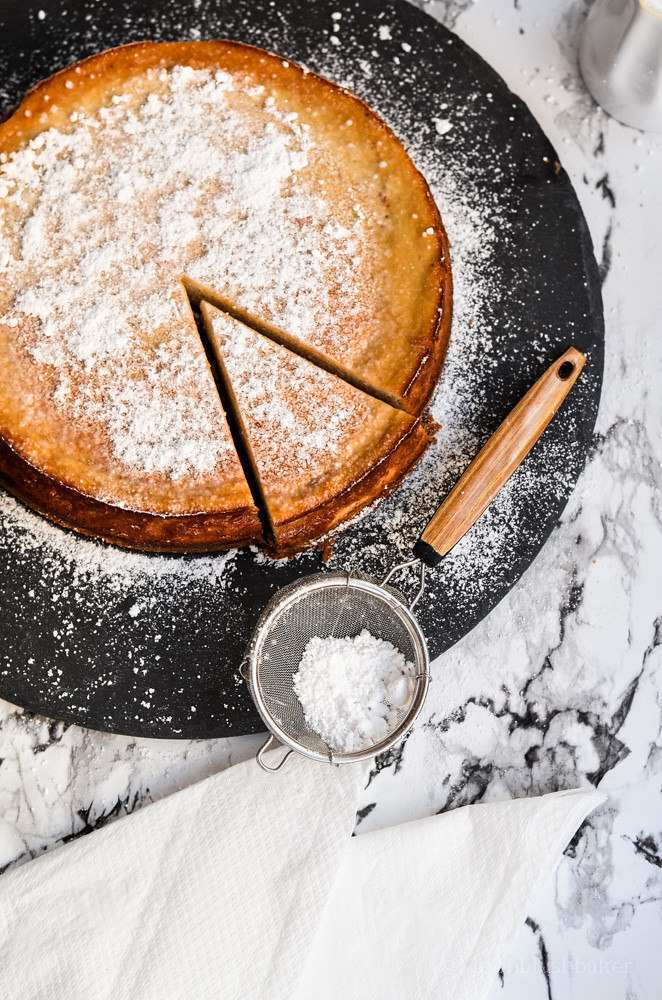
You would be wondering why I am listing all my negative kitchen traits here. You probably never want to work with me or hire me by the way I describe myself. However I have come to realise people like you better if you are honest with them. I am a far from perfect person in and out of kitchen, however I do it all for the sake of creating something which hopefully is almost flawless.
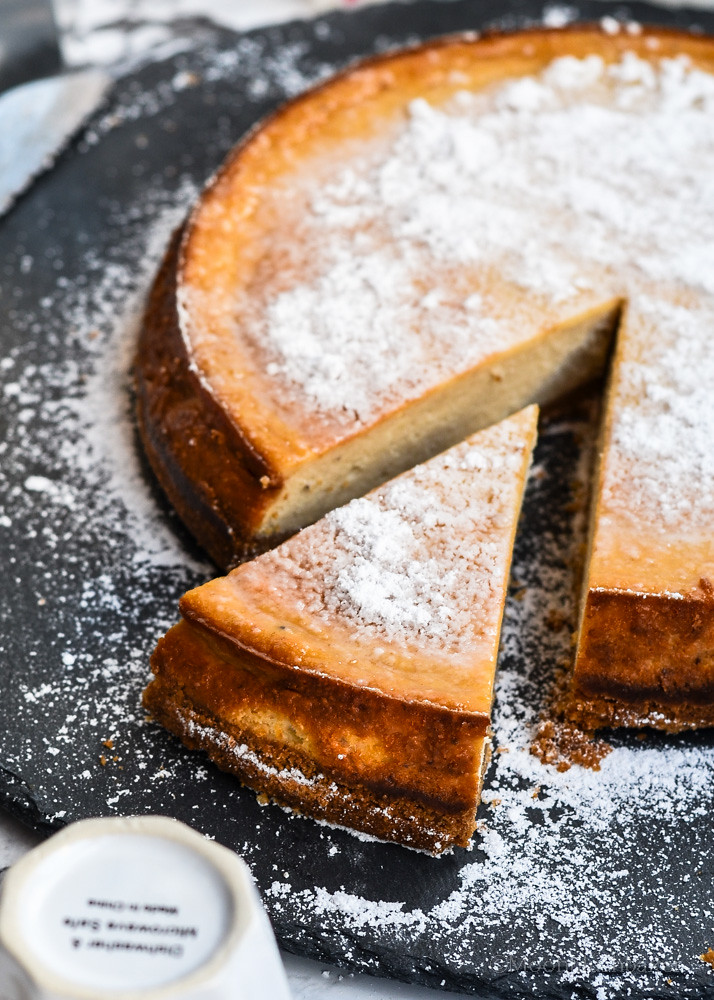
Now unlike my baking I do for cakes, desserts is a more relaxed affair. Cheesecake has to one of the best desserts in history of desserts. It is low effort, high reward, you can go a fancy or as relaxed as you please but best of all it can be prepared in advanced. For me, nobody does cheesecake like Nigella Lawson and no one shall EVER turn down a Cheesecake from Ms. Lawson
All this worry about cheese cake is really unnecessary if you have been taught the right way to do it. A few things I learnt from her are use a food processor, bring to room temperature ALL of the ingredients and as much as it pains you, DO not the rush the cooling process.
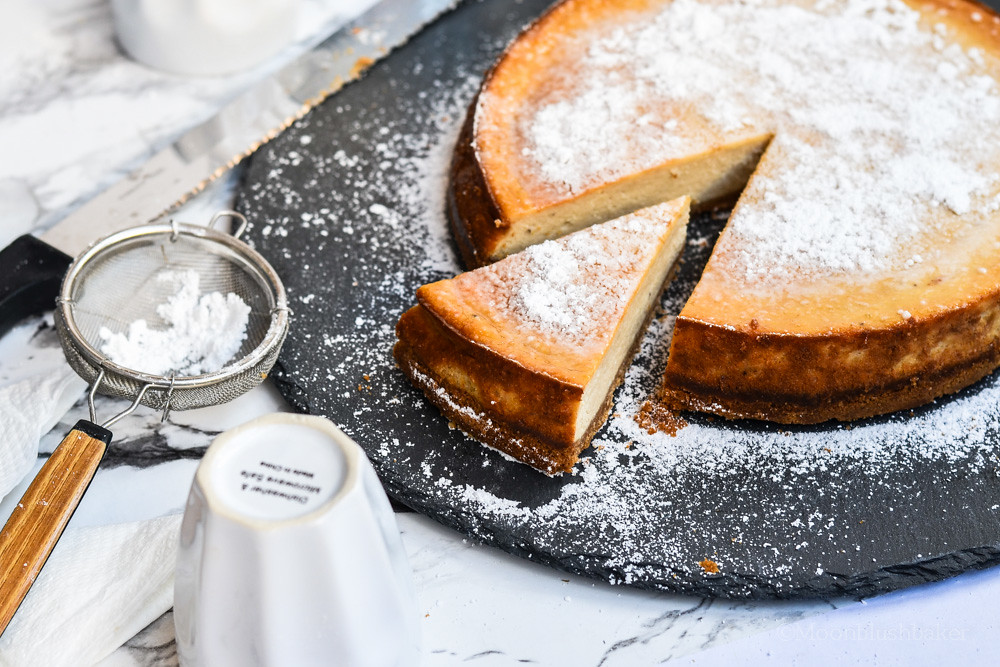
This cheesecake is a double delight for those are into caramelized goodness of snack food. Now you may not think that pretzels are caramelized but in all honestly if you bake any carbohydrate or sugar with dry heat it becomes caramelized. Why do you think it has the lovely rich brown colour we all drool over?

Cookie butter has finally reached Aussie shores and about time too! I was sick of trying to make it only to eat it all within three days… As magic as cookie butter is, I find majority of recipe that use it do not count for that fact it is NOT peanut butter; meaning the sweetness of the desserts become unappealing. Not here but using a bit of custard power, you can reduce the sugars but still give that stability when you use sugar in cheese cake.

I am taking on the classic part ricotta cheesecake because I find it “lighter” than the full cream cheese version; not in calories but the taste. The salty, malted crust is on this cheese cake is almost better than eating pretzel themselves and means people would gladly eat the WHOLE piece of cake instead of leaving it to last or on the plate. Malty, salty and trashy for a Monday dessert; If you need an excuse think of a way to saying “good job!” for surviving the long day of the week.
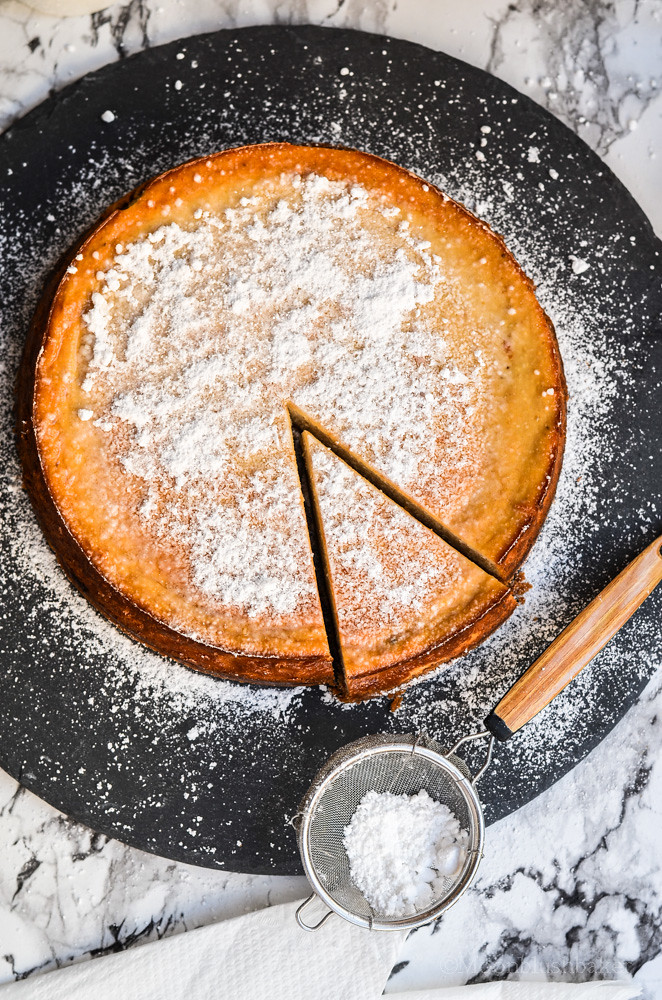
Cookie butter cheese cake with malt pretzel Crust
Makes one 23cm cake
250g cream cheese
150g ricotta (full fat from a deli)
2 eggs
1 egg yolk
100g caster sugar
25g custard powder
100g sour cream
200g cookie butter
Base
170g salted pretzel, crushed well
30g malted milk
60g butter melted
Pre heat oven to 160C (non fan forced).Line the base of a 23cm spring form pan.
Combine in large bowl the base ingredients. Mix well with a wooden spoon. Using a metal spoon push into the base of the prepared tin until evenly formed crust is made. Place in the fridge until needed.
In food processor, combined the cream cheese and ricotta. Scrap the food processor down. Blend on high until combined. Add eggs, sugar, custard power, sour cream and cookie butter; blend until well combined and smooth mix is formed. You may need to scrape it down.
Pour in to the pretzel base prepared earlier. Give it a gentle tap on a bench to rid it of air bubbles. Bake in pre heat oven for about 1 hour until light brown on the top and set. About 5cm of the edge should be set when it is ready). Leaven in oven, with the door slightly open to cool. Chill over night before unmoulding.
To un mould, run a hot sharp knife around the outside of tin before releasing the spring form tin.
 Some times food can be more of a hassle than it is worth it. Yep, I said it. These are dark dirty secrets of the food world that only the honest Jones and Janes will tell you. You do not even have to be a blogger to understand some of the pit falls that come in preparing desserts or even meals. You may prepare , plan and design it to the hills but only when you melt that chocolate, start the machine or turn on the sugar; does fate decide whether it will work or not.
It is a weird sense of injustice right? Like most people, I have always believed placing in hard work, doing the dirty jobs in the beginning, keep your voice down and do not ruffle feathers. Most of all, if you followed instructions, they should work…
Well screw that….
Sometimes the evening meal is more of a pain than I care to comprehend. I once tried to attempt a multistage cured meat dish which turned into one of the biggest fails in the kitchen. Honestly it was a giant piece of inedible chicken in a broth sauce that had a weird hue of yellow and a layer of green tinted fat… I would take a picture of my meal fail but honestly I am too embarrassed. I even didn’t show it to my family when they came over. What? I have a reputation to up hold.
If you think one fail dish was enough try two… Yep it was just one of those days…
At least I could try to save it with cake and yep I did. This was one of recipes that life after being stuck in a dessert rut for a few weeks. I missed making cake over the past few weeks. Only I could miss something sweet.

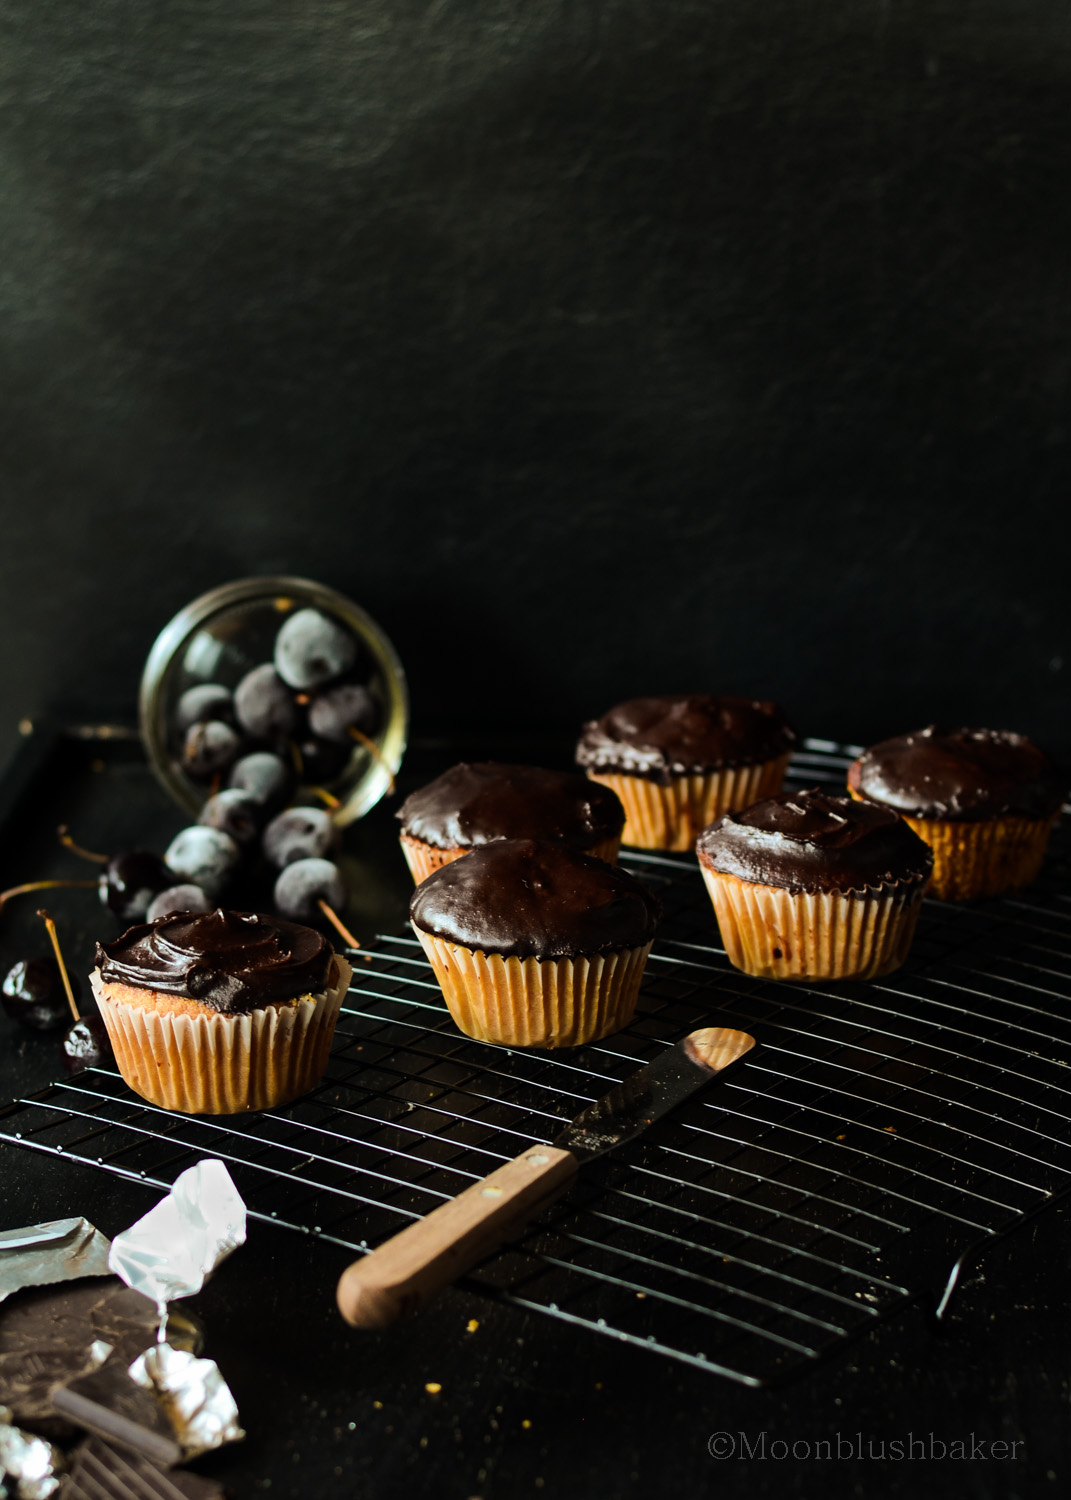
Of course after two fail dishes and a whole lot of cleaning I really did need some dessert, however short on time and ingredients I had to try an adapt a recipe without eggs, milk and butter. So really these are the vegan cupcakes that could. Even if you have failed miserably throughout the day these cupcakes are simplistic but essential to restore a bit of confidence in even the worst of bakes (or bakers).
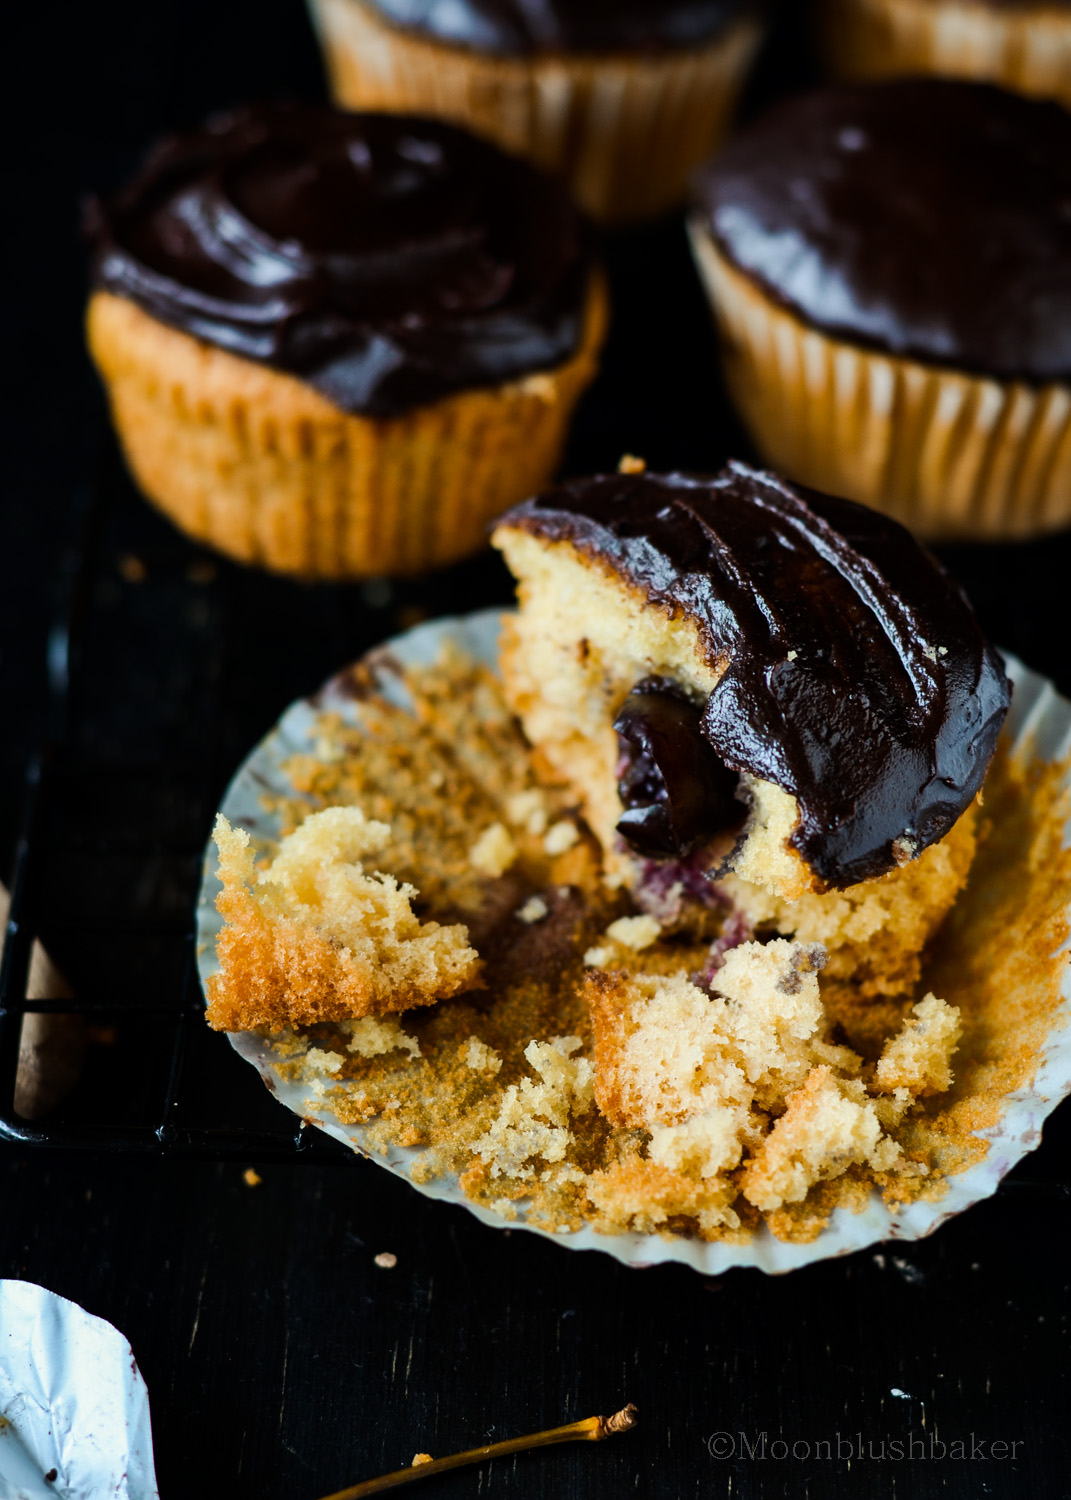
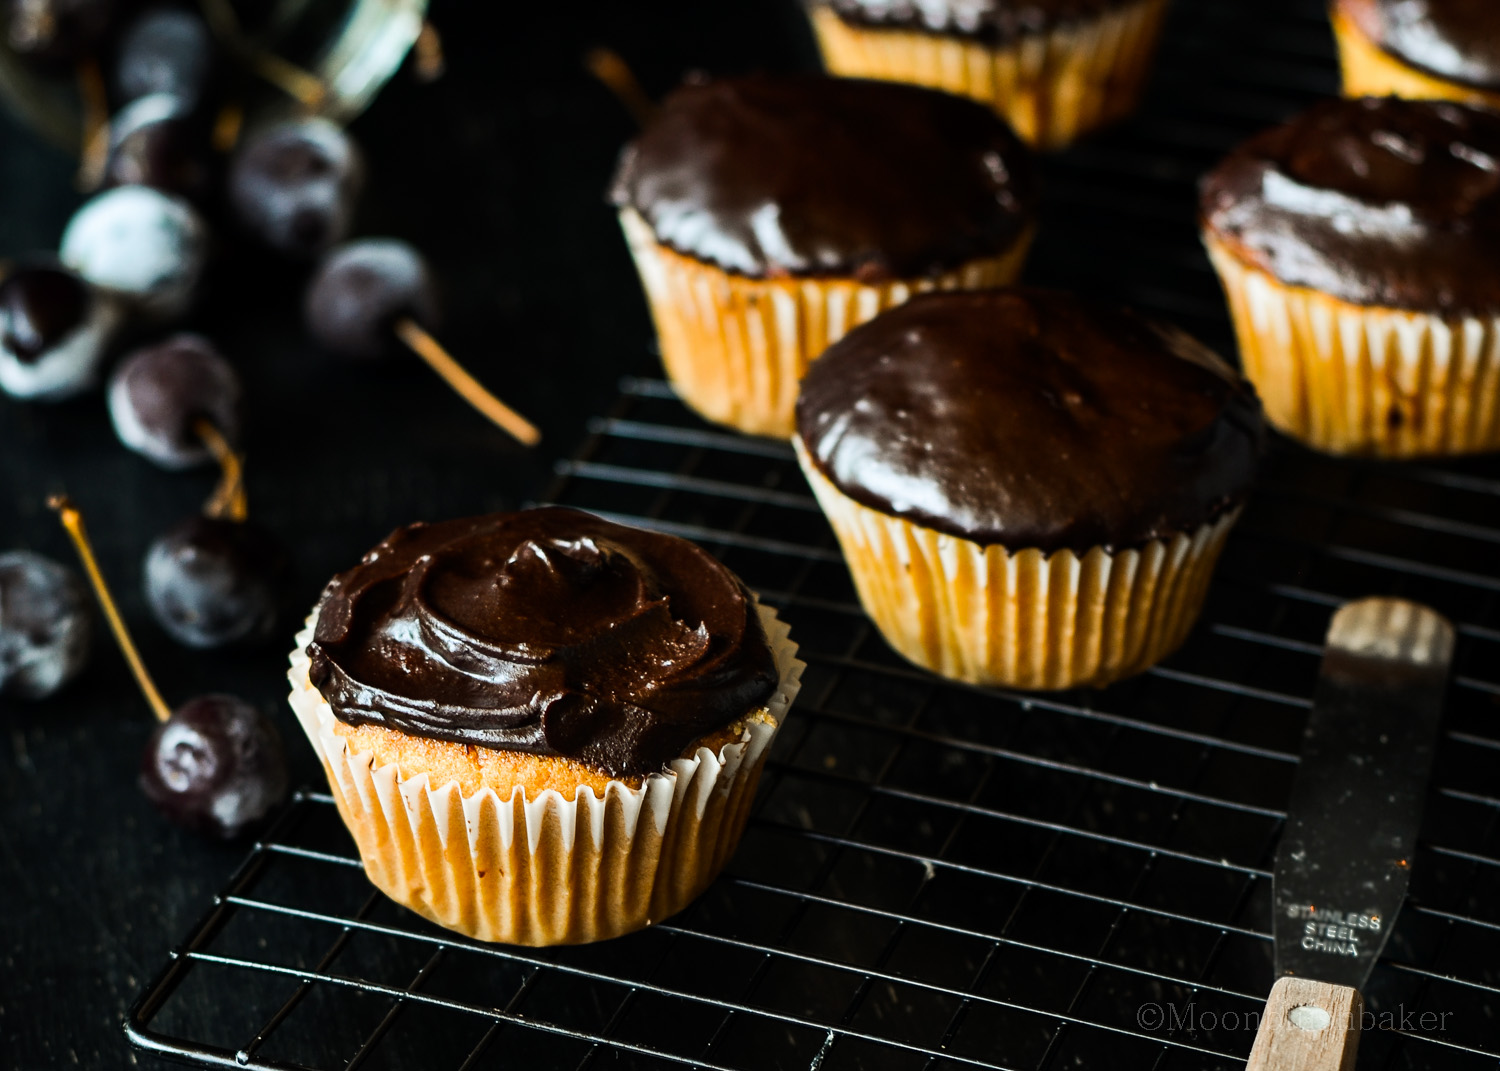
I did not set out to create a cupcake that was vegan but it did make me see that cupcakes can be made by the mix and stir method, yet produce that fluffy yet stable interior. Also you see that trade mark yellow interior; I actually went to effort to source golden caster sugar. While these are not an everyday treat, I am pretty sure the list of everyday ingredients and short amount of hands on work will have you coming back for more.
Normally I would use all sugar but the use of golden syrup is another flavour note and texture helper. The addition of thicker moisture to these cupcakes makes up for the fact store shelf soy milk or alternatives can be notoriously “runny”. You can place a cherry in the middle if you please but they are divine without it.
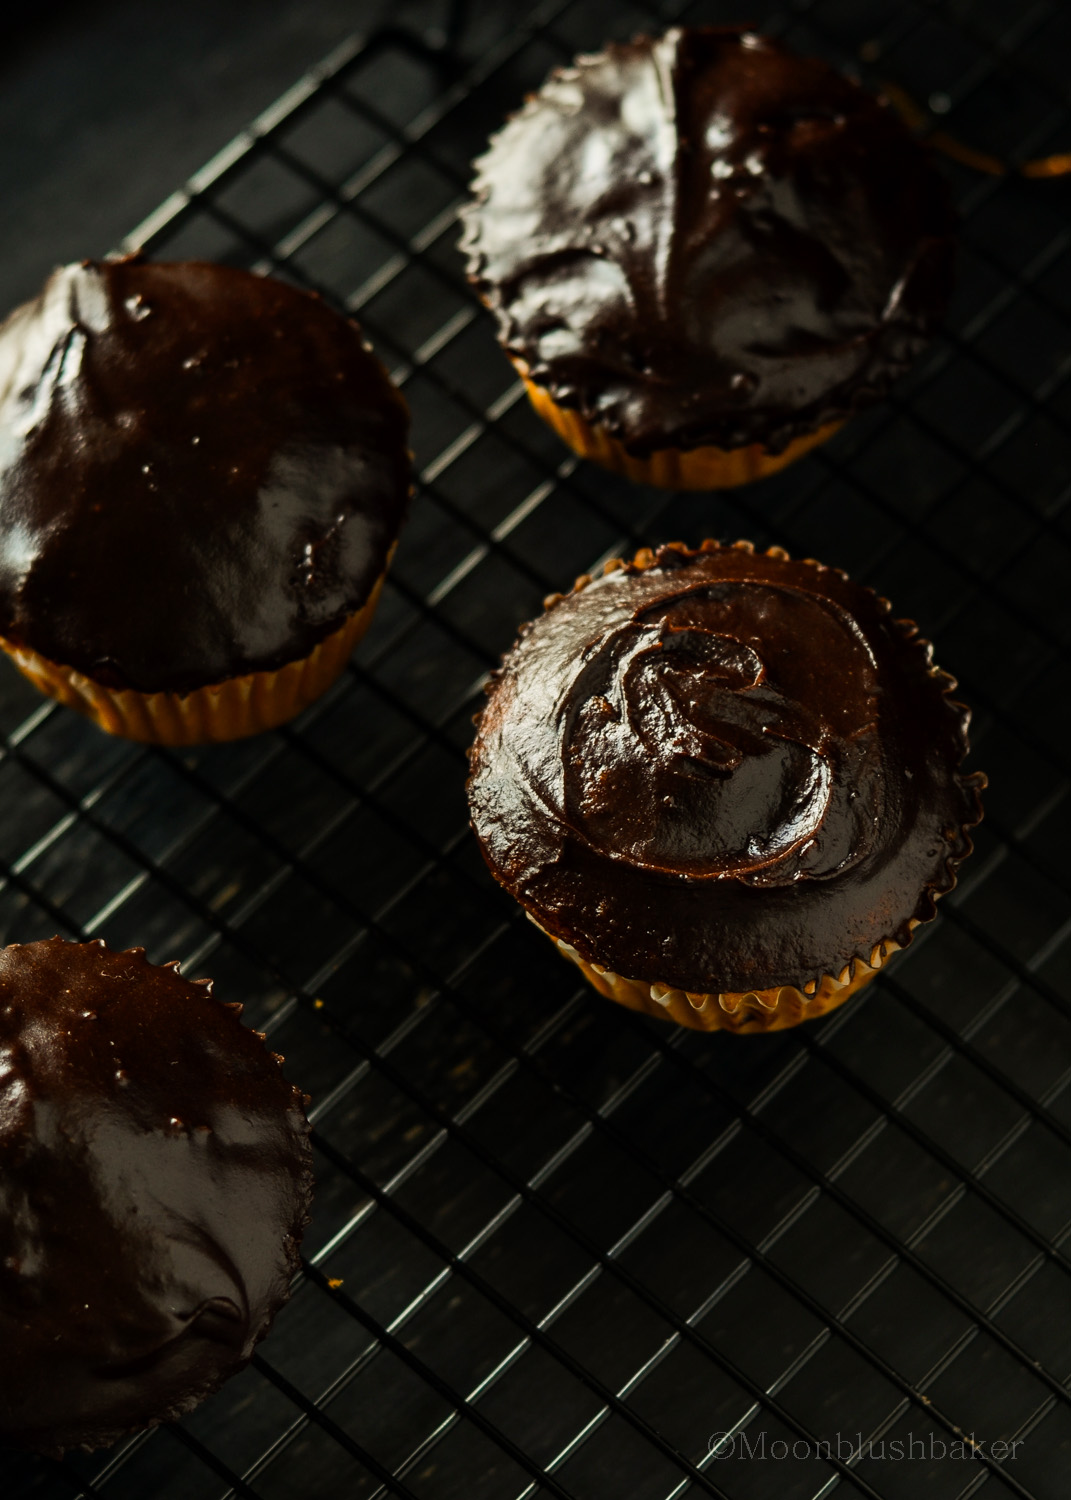
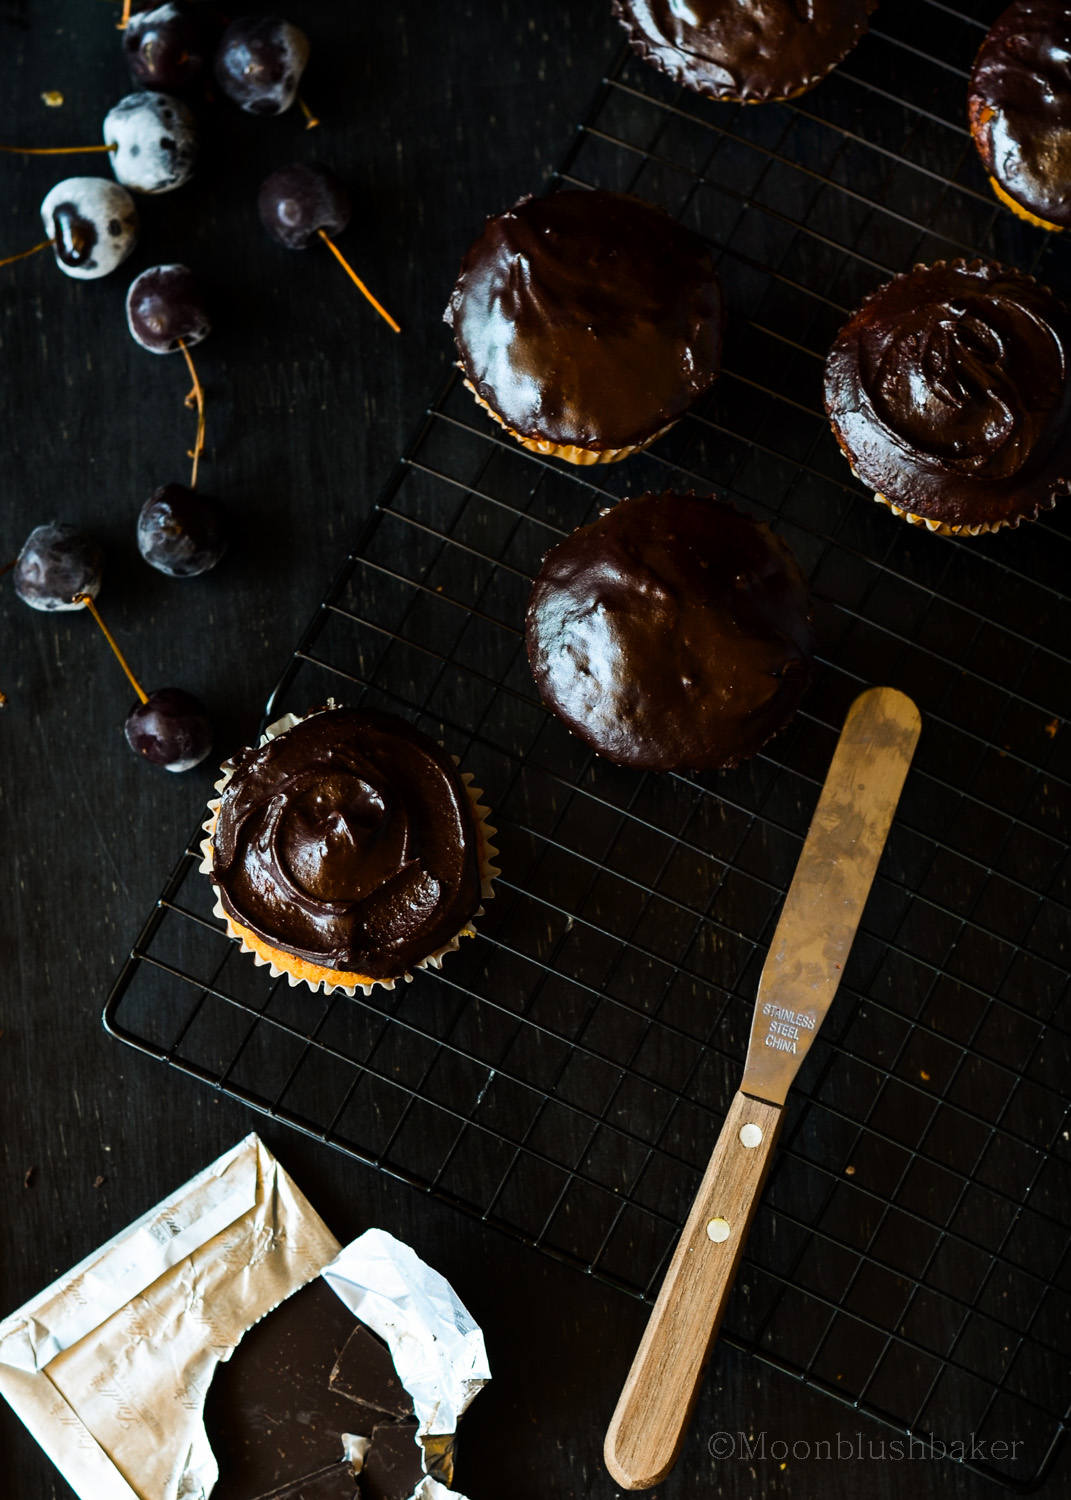
Topping these cupcakes is a simple icing but when you add dutched cocoa and replace water with coconut juice; icing sugar is no longer boring. I also added a bit of Cherry liquor to mine but you do not have too. I like the fieriness it brings to food; not very cherry but the sweetness is there.
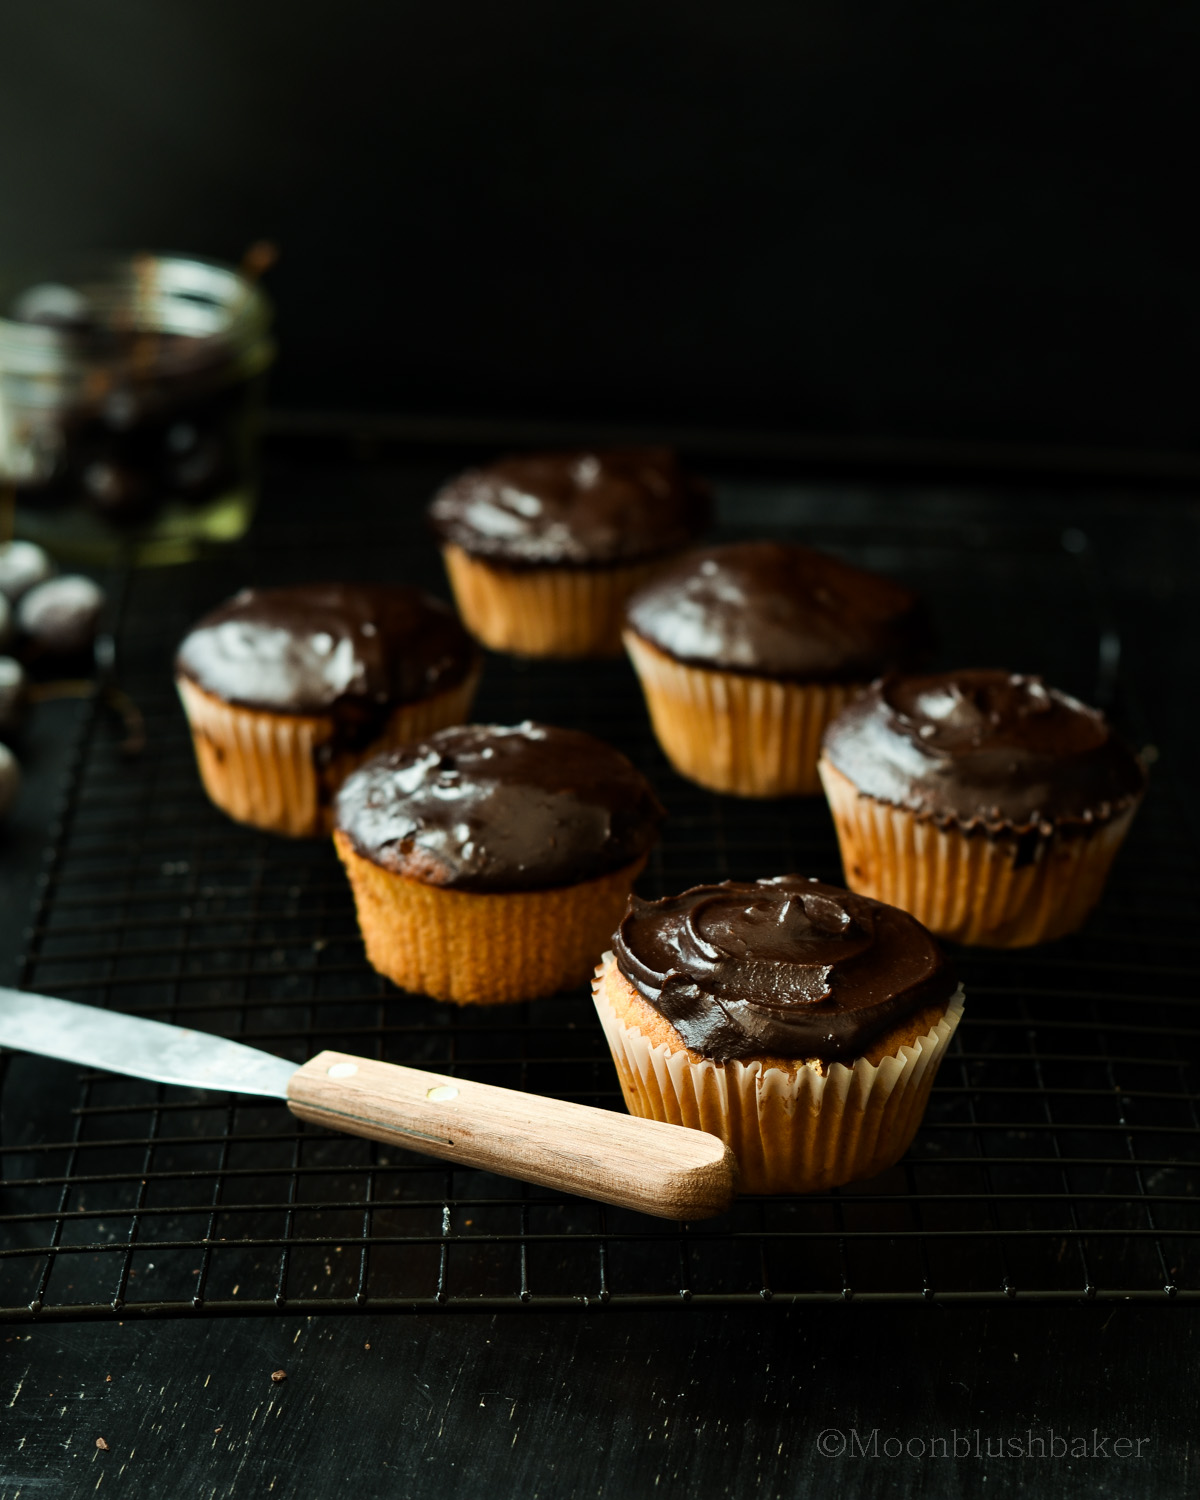
I am pretty sure the icing taste like if you crushed a cherry ripe through a blender, not bad… and look how pretty it can make those fancy rustic swirls! ( I am sucker for this technique)
For times when facing palming a plate of cupcakes is completely legal; at least you can have a recipe that requires no preparation what so ever…
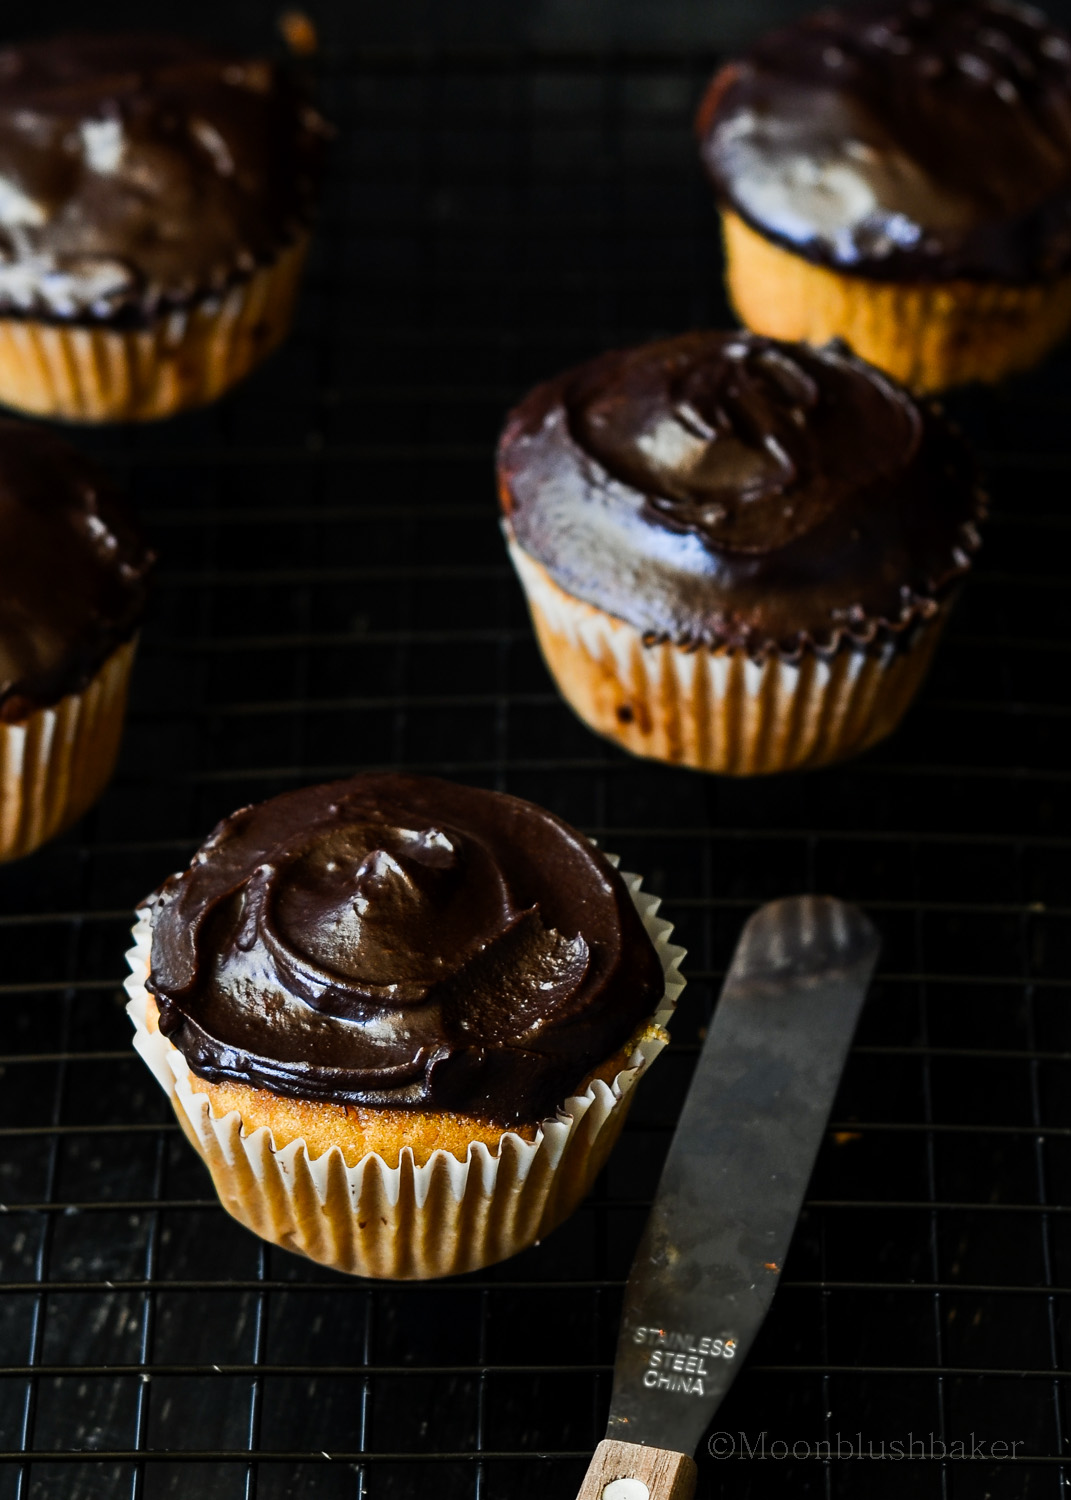
Vegan “yellow’ Cupcakes with Kirsch coconut frosting
Adapted from Food.com and Madhatter’s cupcakes
Makes 12 cupcakes with extra icing
200ml soy milk or milk alternative
5ml white wine vinegar
80ml rice bran oil
30ml golden syrup
150g golden caster sugar
1 tsp almond extract
1 tsp vanilla extract
180g plain flour
32g corn flour
6g baking powder
4g baking soda
Optional: 12 pitted cherries for the inside
In a jug measure out your milk and whisk in vinegar. Set aside until needed.
Line a muffin tin with paper cases. Pre heat oven to 185C.
Shift your flour, corn flour, baking powder, baking soda, and salt 3 times. This important for light cupcakes with mix in batters.
In a large bowl using an electric mixer whisk the oil, syrup and sugar until the sugar is slightly dissolved. Add the extracts and whisk again for 3 minutes on high. It will not cream but become paler.
Gentle mix in the flour and milk mix alternating as you go.
Fill your cupcakes 2/3 of the way up in the lined muffin tin. Bake for 20-25 minutes or until it springs when lightly touched.
Allow to cool in tray for 3 minutes before transferring to wire rack to cool completely and room temperature before icing.
Coconut cherry frosting
(It makes more than you need but you can halve it like I did)
650g Pure icing sugar, shifted
80g dutched cocoa, shifted
50ml coconut juice, warmed
1tsp cherry liquor (Kirsch)
70g coconut butter, melted
In large bowl mix the two shifted sugar and cocoa together.
Mix in the coconut water and butter. Whisk till smooth. stand for 10 minutes then whisk and use it to ice cupcakes.


