Only difference between this week and last week is that I am slapping myself that I have come this far. I have hinted in past that my dream right now is to get into the industry. Whether I am plating up desserts in a commercial kitchen or folding a croissant dough in the bakery; either one would be stellar experience. Experience is all I can ask for.
Anyway one thing I have decided is really not just for me is chocolate making. No I do not mean mixing the cocoa butter, sugar and cocoa solids but those fancy filled chocolates you get in the stores. Yes chocolate is a dying art much like the pulled sugar art I did a few weeks back however I do not know if I can grow to like it. Over the past 2 weeks I have been doing a very intense chocolate course as part of earning my credentials in pastry. 8 hour classes may seem long, in reality I could go on for 10 hours and still not get it right.
My main problem is not tempering chocolate. I actually was tempering quite well 90% of the time but when it comes to filling the filled chocolate moulds is a another story. I am about to melt away every time I here the word "chocolate". My hands are not that big, you could say small in fact. So when the teacher ask you to hold the plastic wide mould with one hand and scrape hard with the other is a recipe for disaster. I was covered in chocolate (not as nice as it sounds) once a class was over. However the delicious nibbles you get in class is really worth the cleaning pain; I think I am about to become sick of eating chocolate soon.
.
I will update you guys on the final product next week! Finger cross, I get myself one of those muscle grips to train my hands and produce a chocolate box worth displaying.
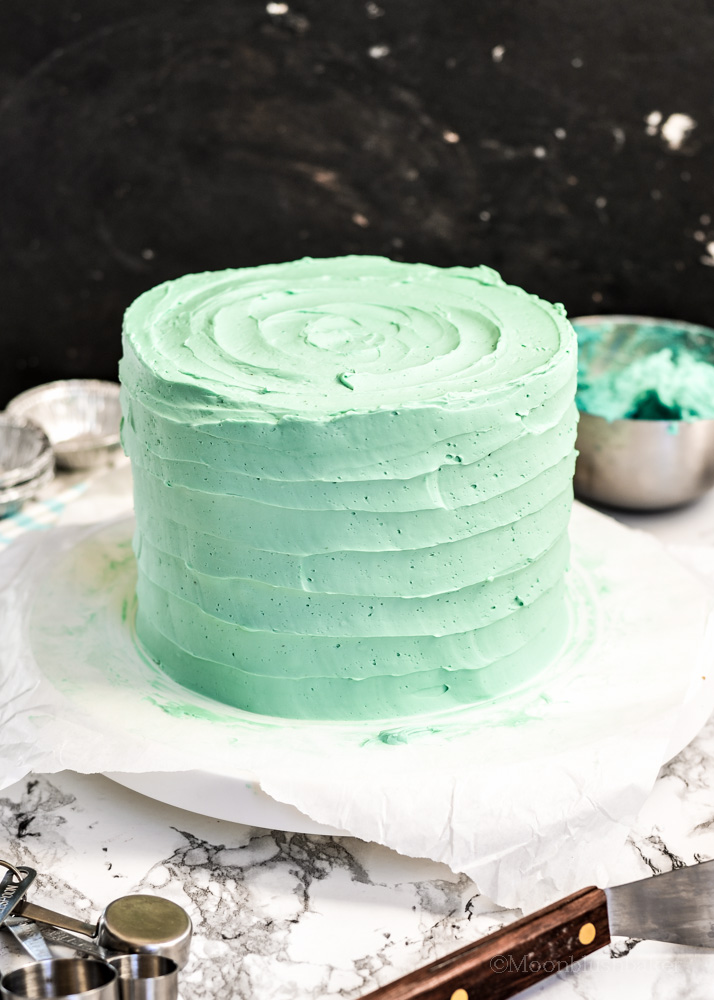
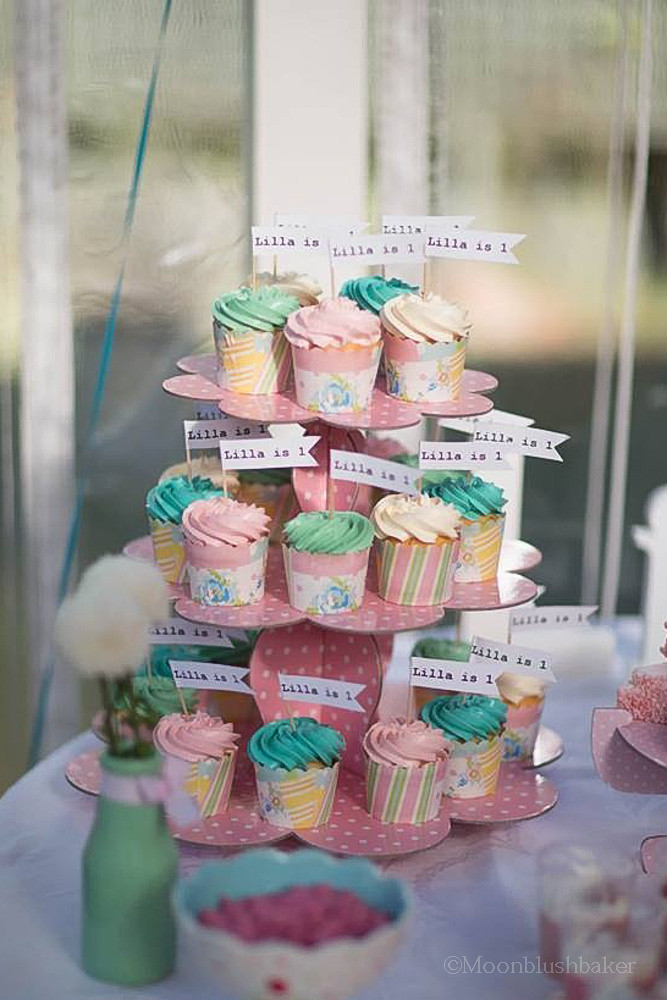
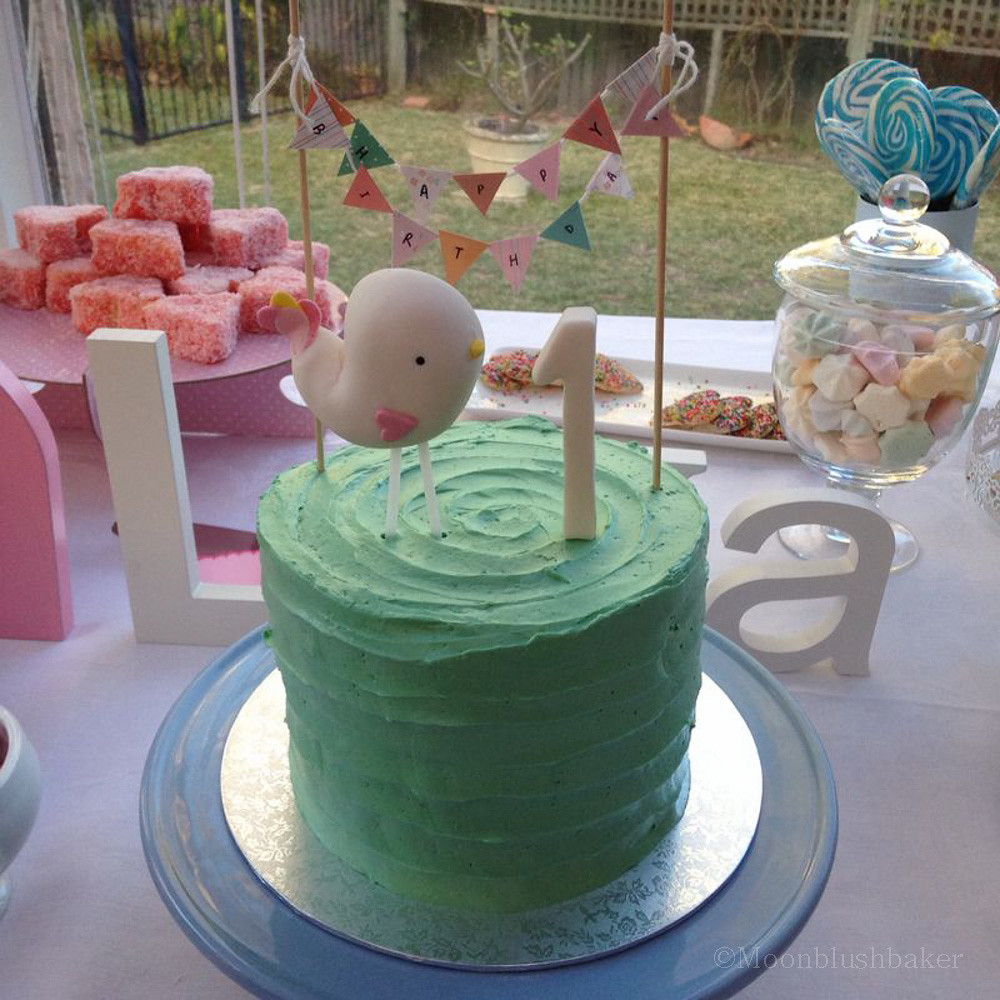
In case you were wondering, this cake is one I done for a client of mine. Her little girl was turn 1 years old and I had the pleasure of doing this cake for that special day. I am not a fan of great big cakes for kids.
One. They would not remember the effort you went to.
Two. Unless you have a big family, a majority of that cake will be wasted.
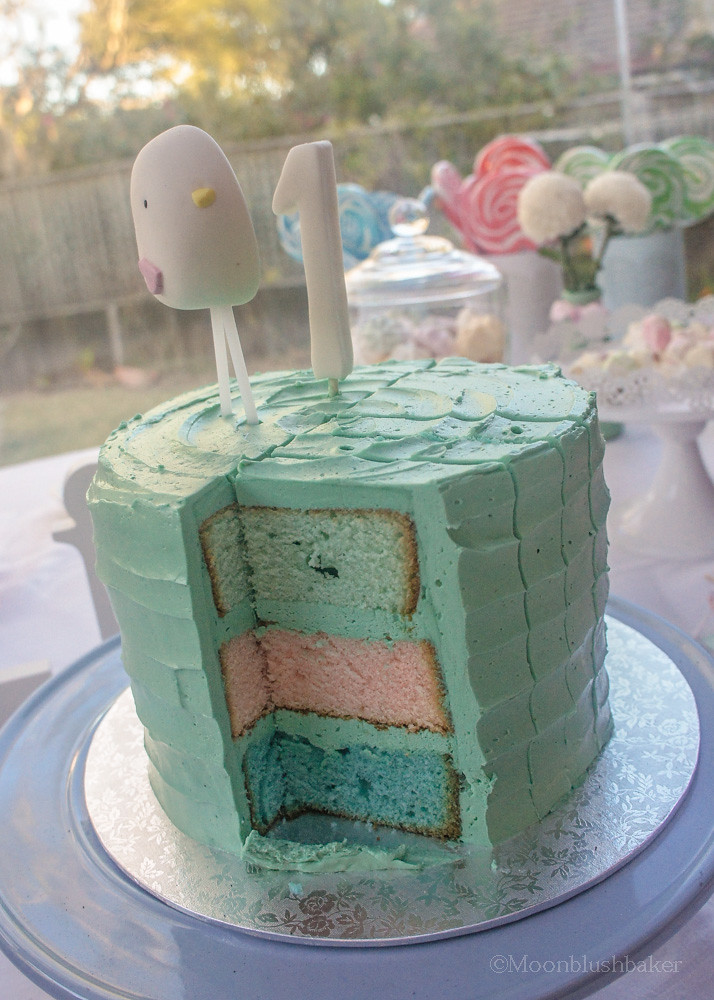
Ok let me pull out a pie of humble pie and sit to eat it. It is your baby, do what you want to. If making a gigantic cake is you cup of tea, go with it. By using Apt 2. Baking’s Blog as a guide I did my best try to copy this technique. I have few tips to help people because they do not write it in the recipe. It was good experience and I have few pictures below of the recipe of cake in action that she sent to me! I also did the cupcake and the bird :)
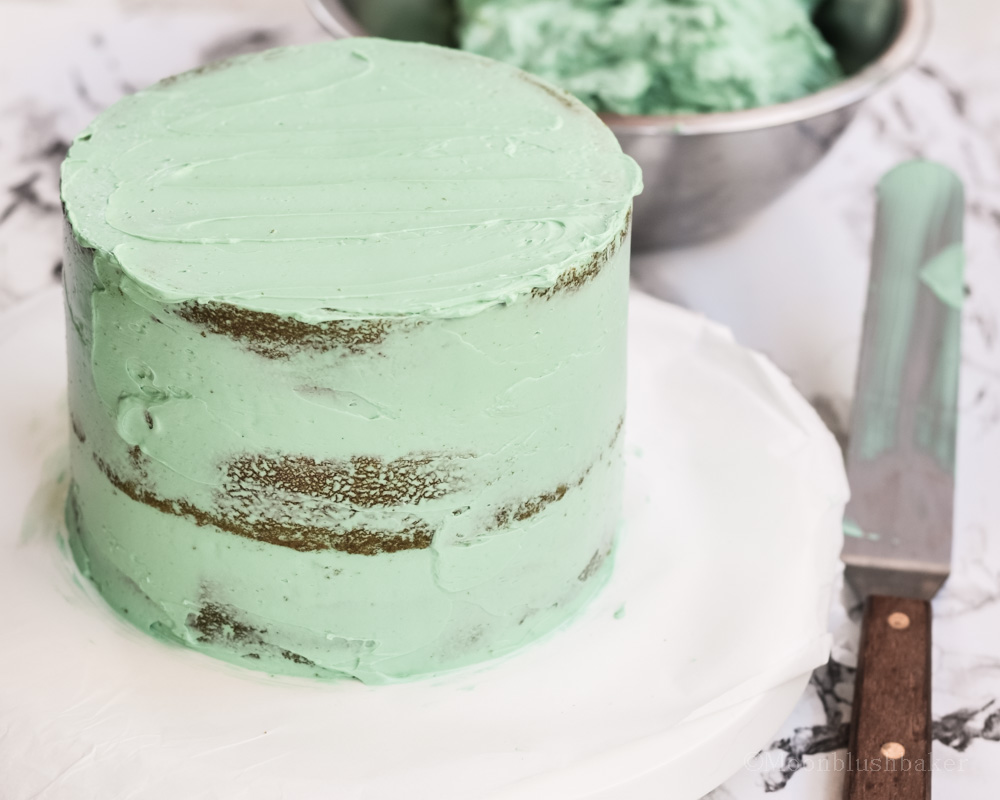
Firstly, you need a semi warm plate knife. I did this by running it over naked flame once or twice. Makes it LOT easier to drag around.
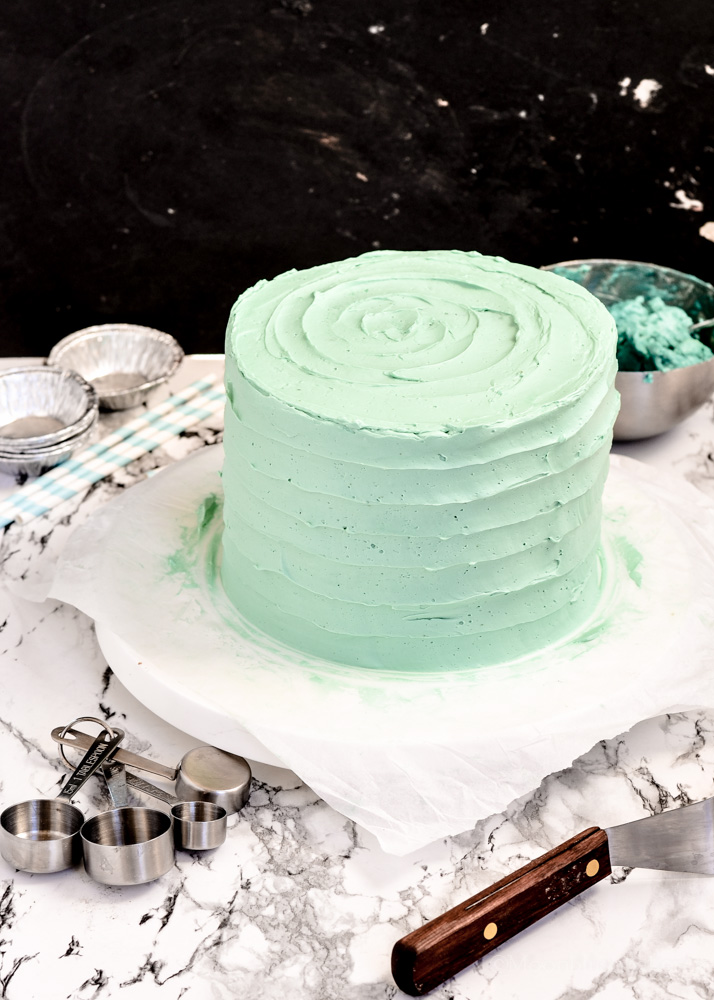
Secondly, DO not leave your cake in the fridge for too long. I cannot stress this enough. I used a French egg yolk butter cream which took FOREVER to get back to a temperature which I could smooth out the icing. Either leave it there for 15 minutes or if your kitchen is cold you can do it straight away.
Lastly, paper towels here are you best friends in the kitchen with this cake. Nothing is worse than having icing everywhere and messing up your hard work.
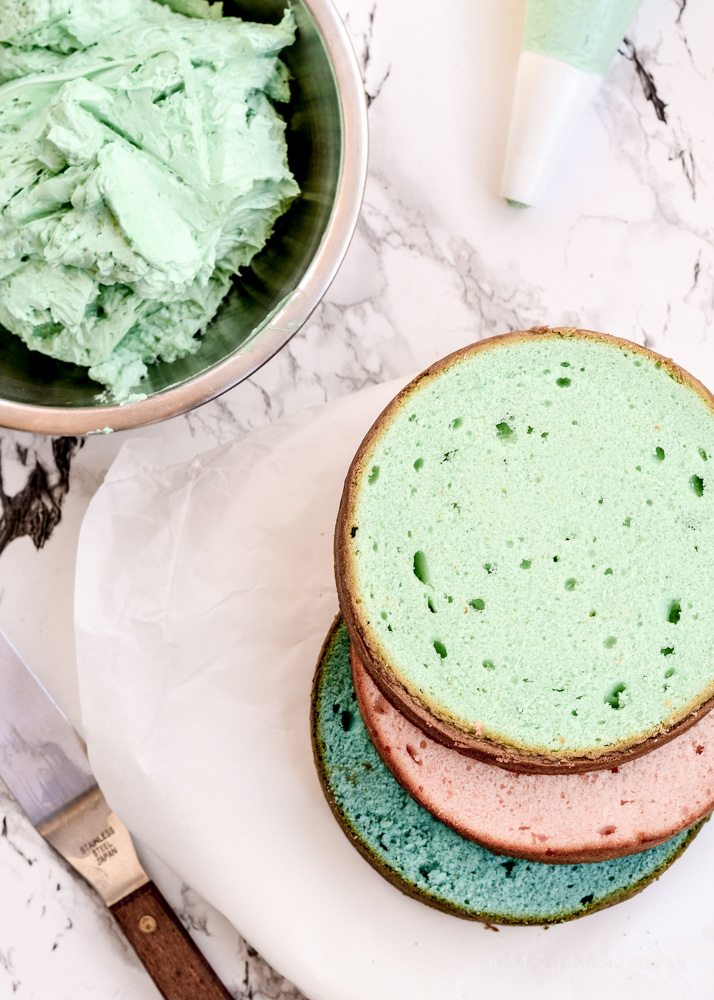
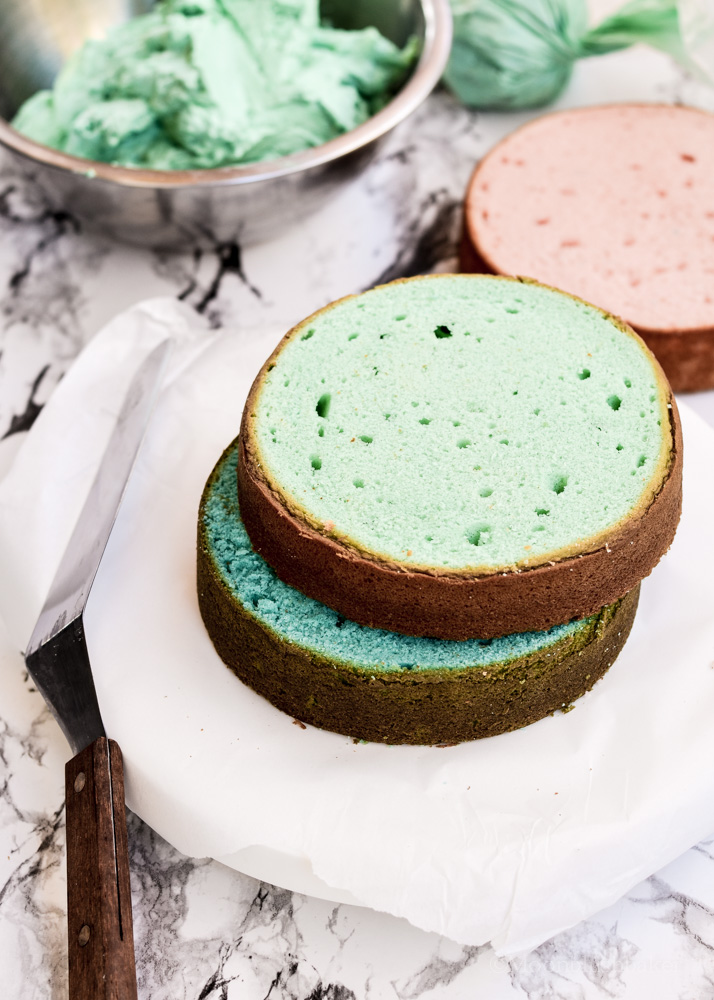
White chocolate melt and mix mud cake (you will need to make 3 of these cakes in pink, teal and blue)
Adapted from Donna Hay’s Chocolate essentials
185g butter
150ml room temp, full cream milk
90g full fat Greek yoghurt
300g caster sugar
150g white chocolate buttons
300g plain flour
8g baking powder
2 eggs
For each cake; 3g gel pink, teal or blue food dye
Pre heat oven to 160C, line and grease one 22cm pan.
In a large sauce pan place butter, white chocolate, sugar and milk. Cook over low heat until melted. Set aside for 5 minutes.
Shift flour and baking powder in a large bowl.
In a medium jug whisk, yoghurt, eggs and vanilla.
Make a well in the flour bowl; pour in yoghurt/egg mixture and white choc mix. Fold to combine.
Pour and spread into your prepared pan.
Bake for 45-50 minutes. Cover with foil if browning too much on the top.
Leave in pan for 10 minutes to cool before turning out.
Butter cream recipe
French butter cream
6 yolks
250g caster sugar
30ml water
450g butter
2 tsp clear butter flavour
1tsp almond extract
Food colouring in an aqua or light blue. 3 grams for a gel.
In a stand mixer beat egg yolks until pale yellow and fluffy. This takes about 7 minutes.
At the same time, in a sauce pan combined sugar and water. Place on stove on medium heat. You are making sugar syrup.
Heat the syrup, swirling to evenly distribute heat. Bring the mix to 118C.
Once it reaches this temperature, drizzle the syrup into the beating bowl of egg yolks. Make sure to pour down the side to avoid the beaters.
Continue to beat until this mix is room temperature. It will not be as big as the normal egg white mixes but it should be pale and creamy.
Change to paddle.
Add the butter slowly on medium speed. Scrape the bowl often. Continue this process until all butter is added.
Add butter and almond flavour beat on high medium until fluffy. Add colour and beat until combined.
Set aside.
Assembly
Instructions from Apt 2. Baking Co
One recipe of butter cream
3 recipes of the cake
Cake stand
Cake plate
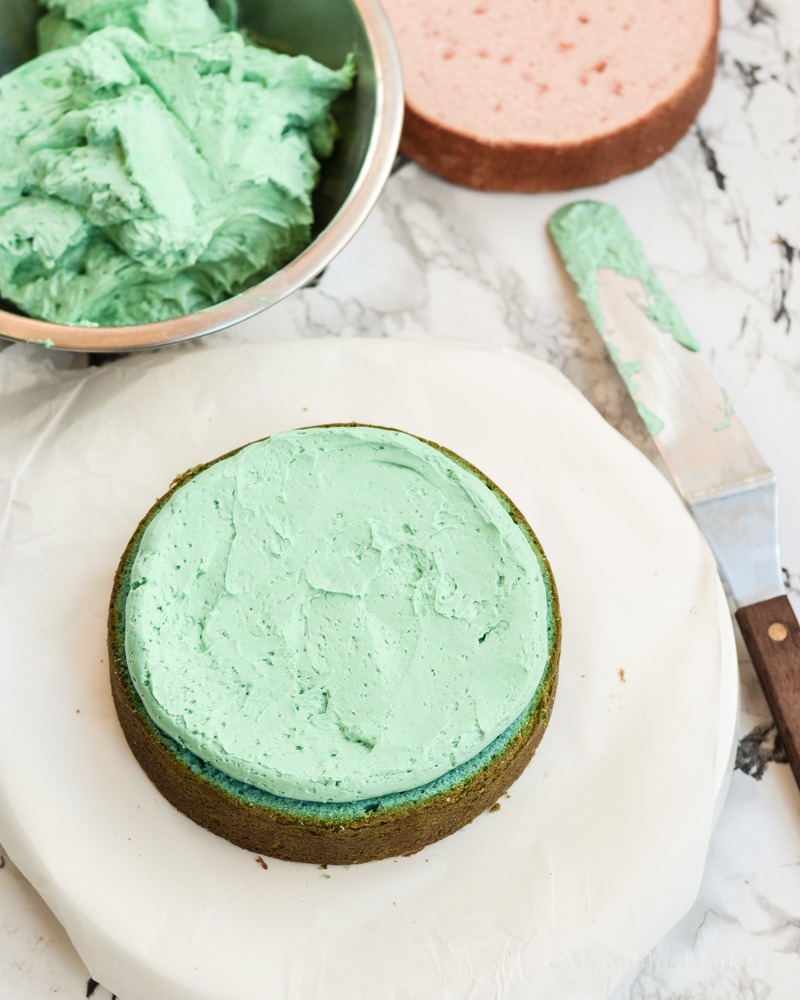
Place a small amount of butter cream on to the cake plate. Fix one of cakes to cake plate. Using a piping bag fitted with 1 cm round nozzle, pipe a broader around the cake leave a gap of 1 cm. Place 1/3 cup of icing in the middle of this circle. Using your off set spatula spread and move the icing to meet the boarder and meld it into together. Top with another cake. Continue this process with the next layer. Finish with a flat side face upwards for the last layer
After the coat the cake in a crumb frosting. Chill for 30 minutes.
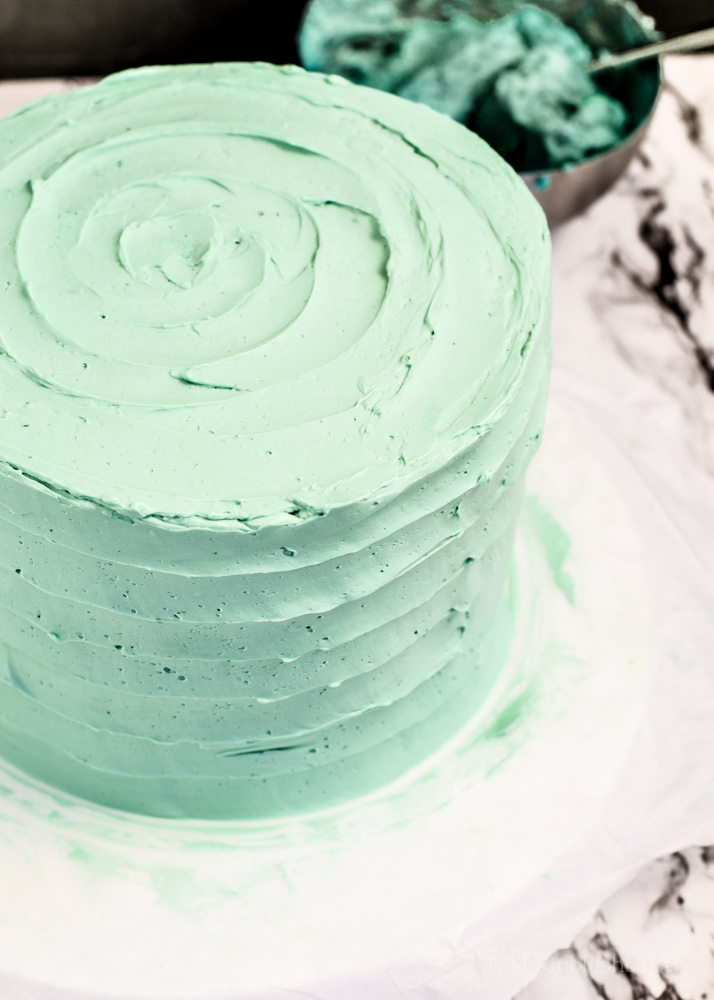
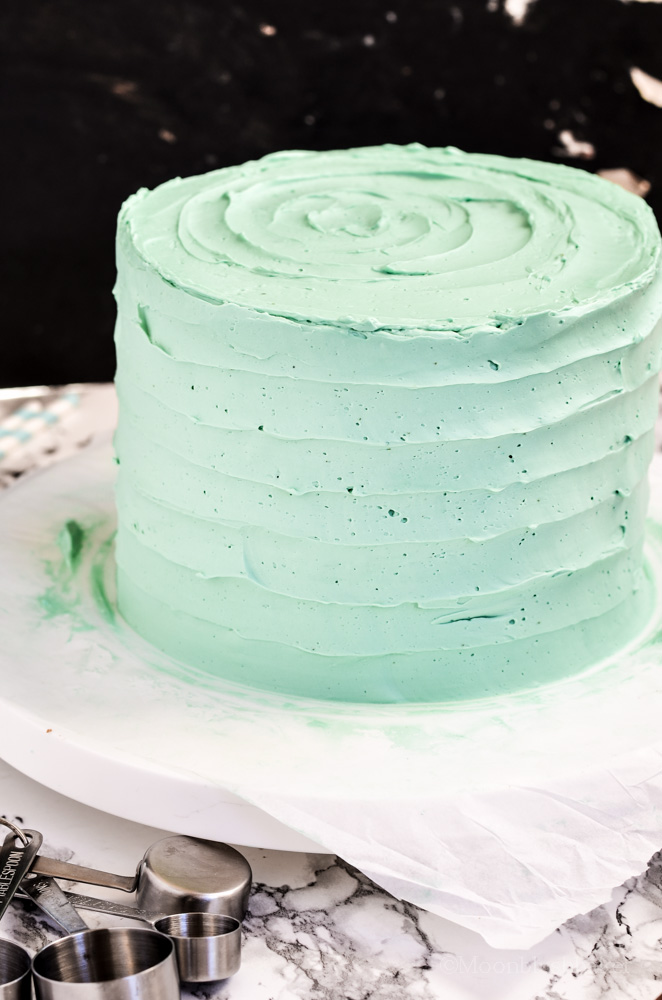
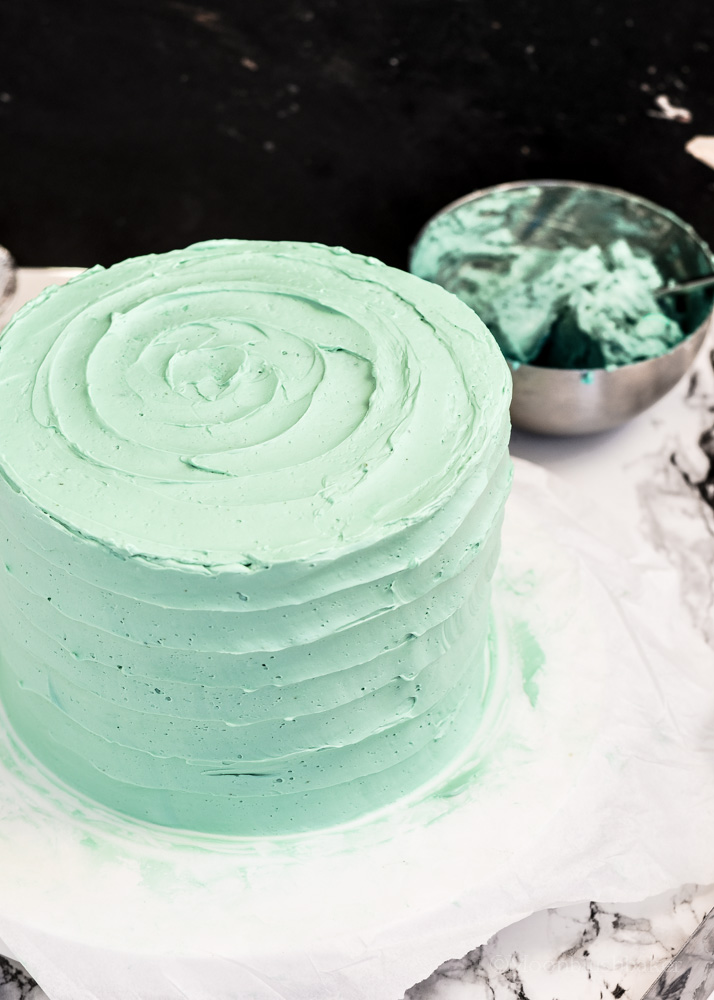
Do the final coat of butter cream making it as flat as possible.
Finish the cake by holding the tip your offset spatula at 160 degree angle. Warm up you blade. Pressing gently on the frosting at the bottom of the cake. Smoothly spin the cake turntable while simultaneously dragging the spatula up the side of the cake, stop when you get to the top. Wipe the spatula clean with a towel whenever needed and continue again. TO finish the top, press the spatula tip in to the centre of the top of the cake. While turning the turn table, move the spatula slowly to the outer edge of the cake; creating a continuous circle.


Wow! Eight hours of chocolate making? That's so impressive, even if it's not your high point! Pastry school sounds amazing, I've always thought I would like to go into that. But it's cool looking at all your photos and cakes and such, and this cake is no exception--looks delish! :D
ReplyDeleteThis comment has been removed by a blog administrator.
ReplyDelete