Wednesday, gosh how much do I love Wednesday. Hump day may be some people idea of hell however for me I am very keen to share you with you why I love Wednesday. Well for me the idea of a "perfect day" involves a lot of baking and sweets. While I would love to have gone out this weekend to get some sun; the weather here has not been on Sydney siders side. It has been rainy, cold and wet… The worst weather for me at least. I need to wash clothes!!!
However Wednesday also gives me a chance to process what I will later in the week. As you might know I have been really trying to organise where I want to go in my baking career, so forgive for posting not as often as I did. None the less this absence has also come with some perks. I did markets with my sisters this weekend selling macarons which was very successful in my opinion and it is drumming up business for both of us.
I know I do not talk about this much but this blog is actually open to custom cake order from the Moonblushed Baker herself. Yes it is still in the works but this absence from the blog has been a result of a rush of orders for the month of June/ July. If you are in Sydney, Australia; having a party and wanting to one of my many cake creations for your party. I am here to listen to your ideas to create the perfect cake for you. Of course I do other baked good too, so I am pretty much dabbing in to everything right now. But enough with my shameless plug and on to this cake.
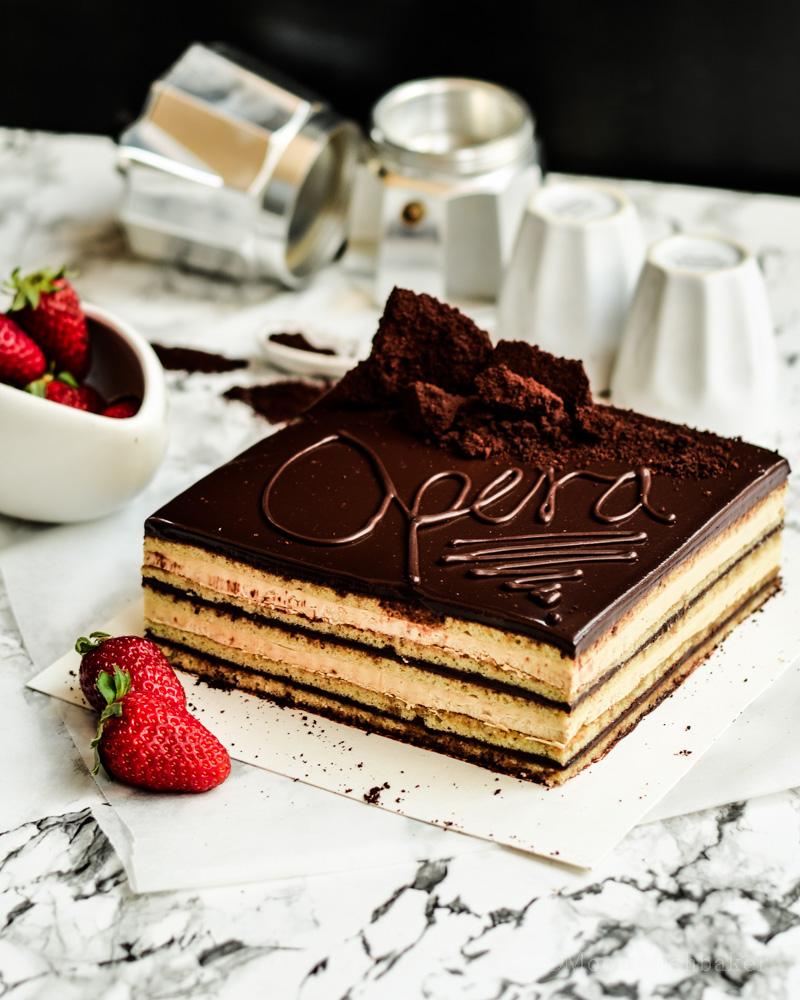
We just had a 3 day holiday in Australia. So you can understand why this opera cake was the perfect long weekend project. It requires you baking and creating many different layers, preparing the tin and waiting for the right time to cut. The French definitely know how to make a statement this this coffee gateaux. Why does the French always have to make things look so much more difficult than it seems?
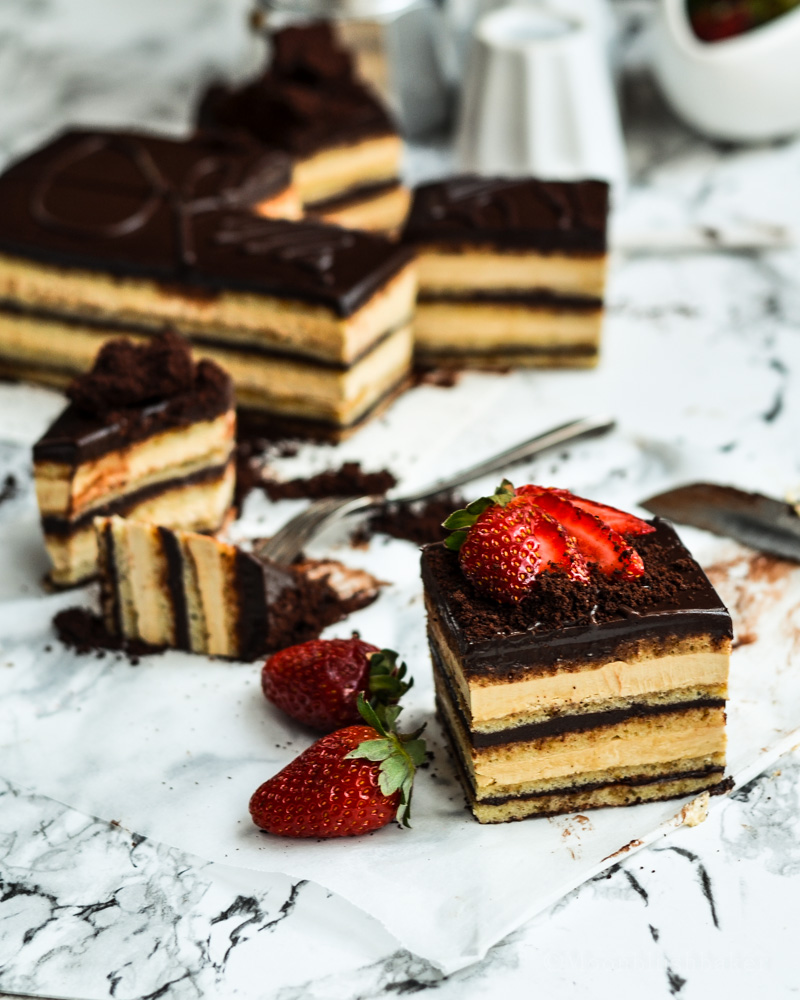
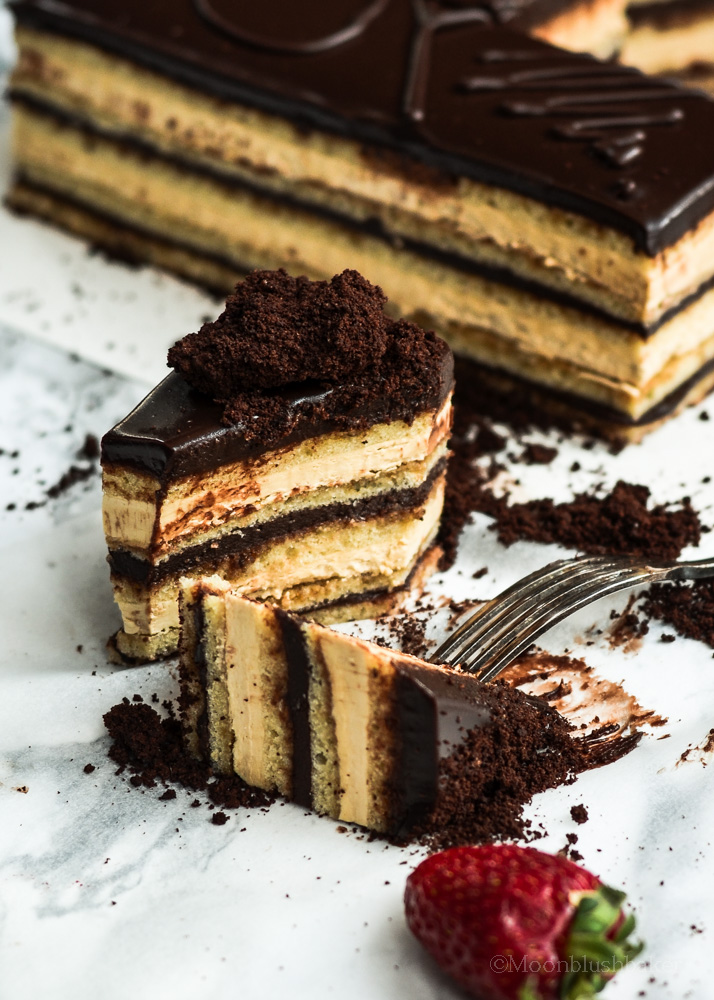
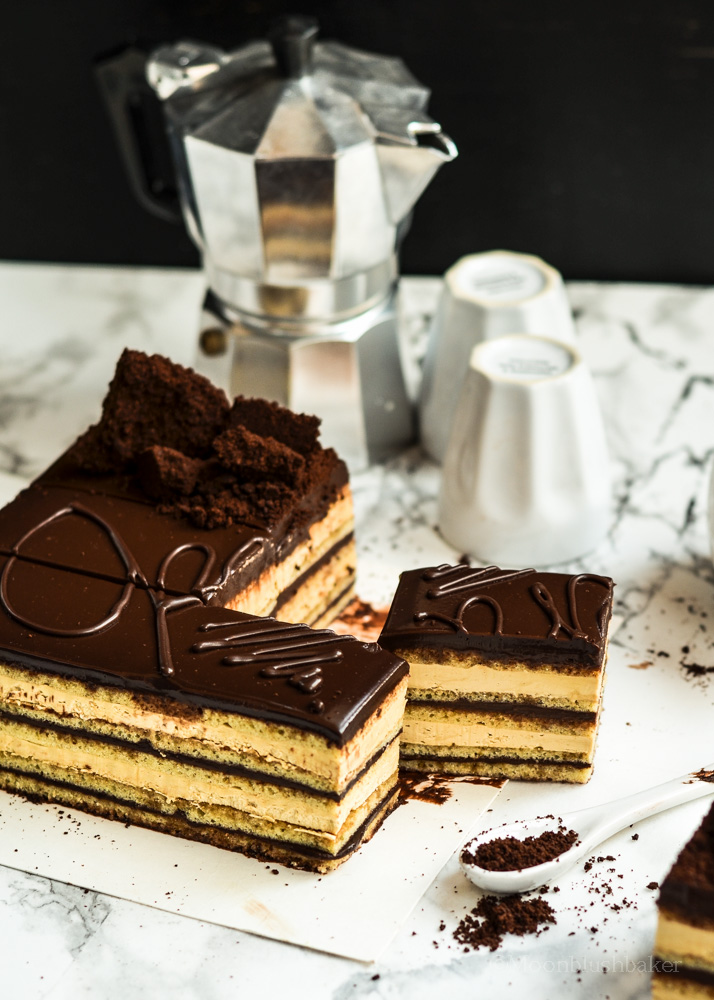
Coffee drunken layers of soft and fragrant joconde alternating with equal layers dark, dreamy ganache and melt in the mouth coffee French butter cream; you cannot ask for more French dessert than this. It is truly a celebration of butter, sugar and chocolate but I would not have it any other way.
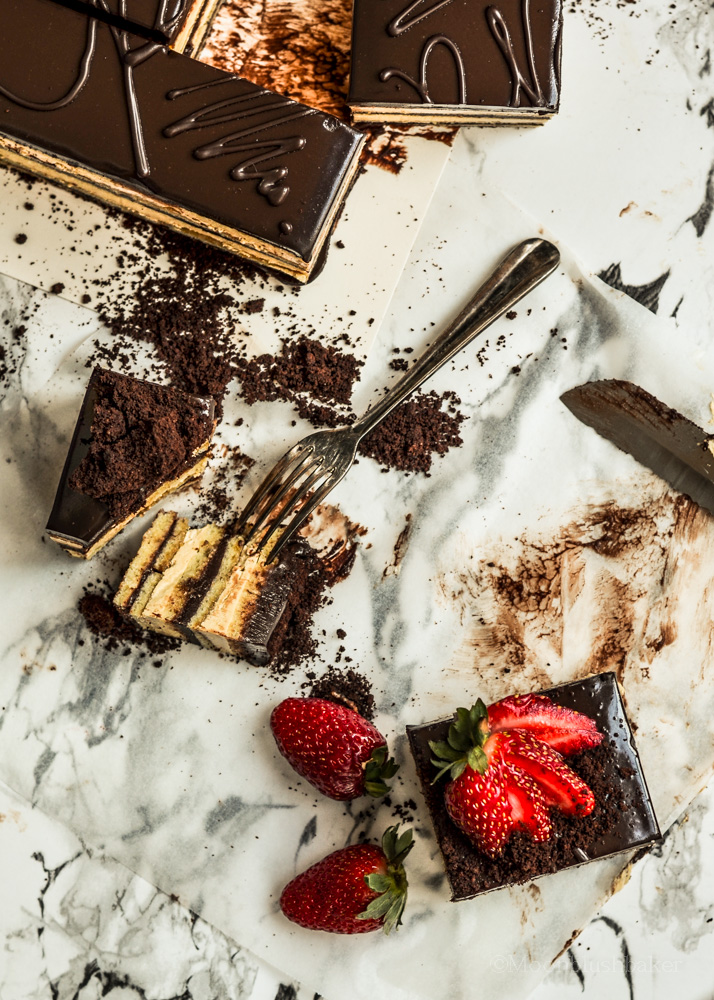
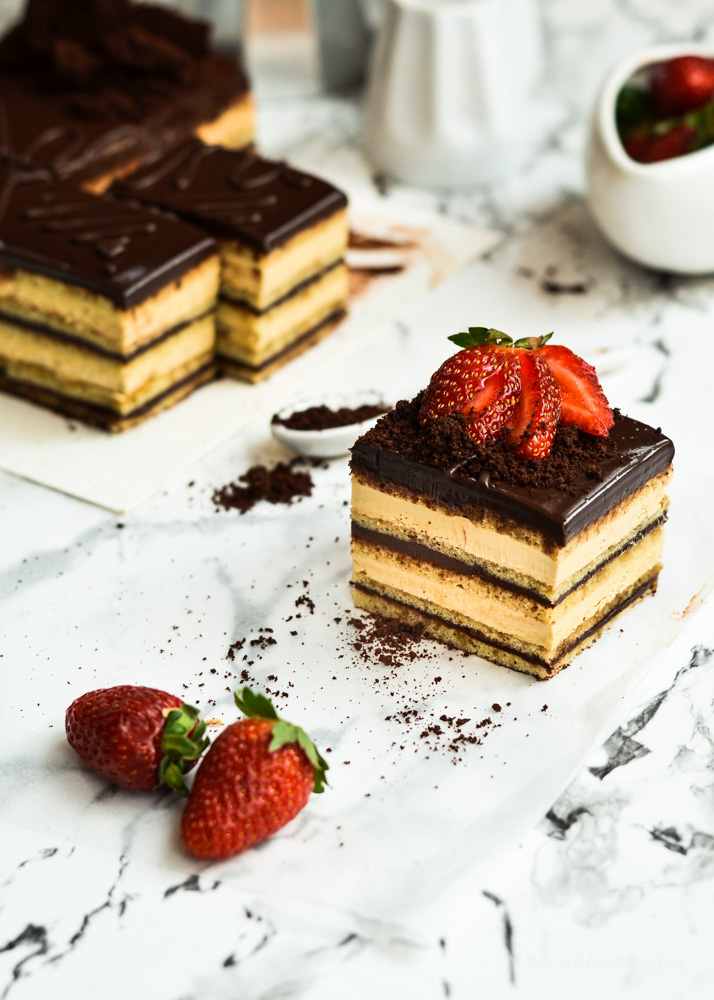
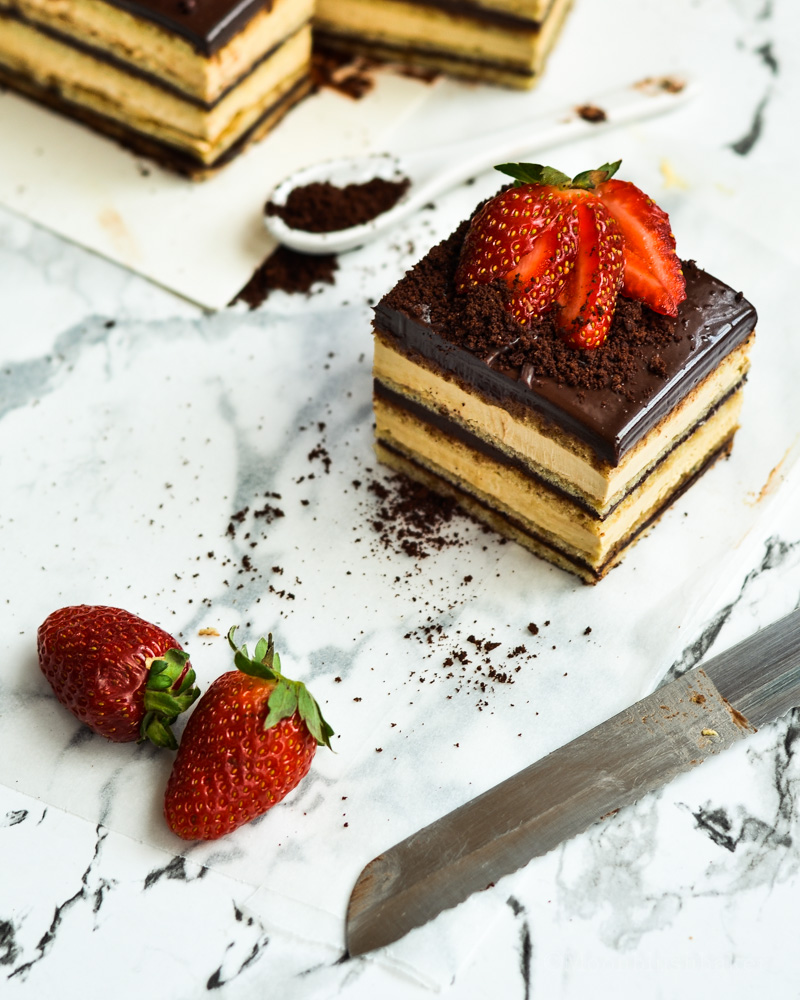
It looks stunning as a whole but I think it looks best when cut into little petite fours and garnish with a bit of Dutch cocoa crumb and a simple redder than red strawberry. The best part about this cake is any kind of messy sides or imperfect can be covered up AS long as you can cut straight, you are set to astonish your guest with your culinary skills (which are actually not any harder than a normal butter cake) and maybe you can roll off a bit of French to make them even more envious of your skills :)
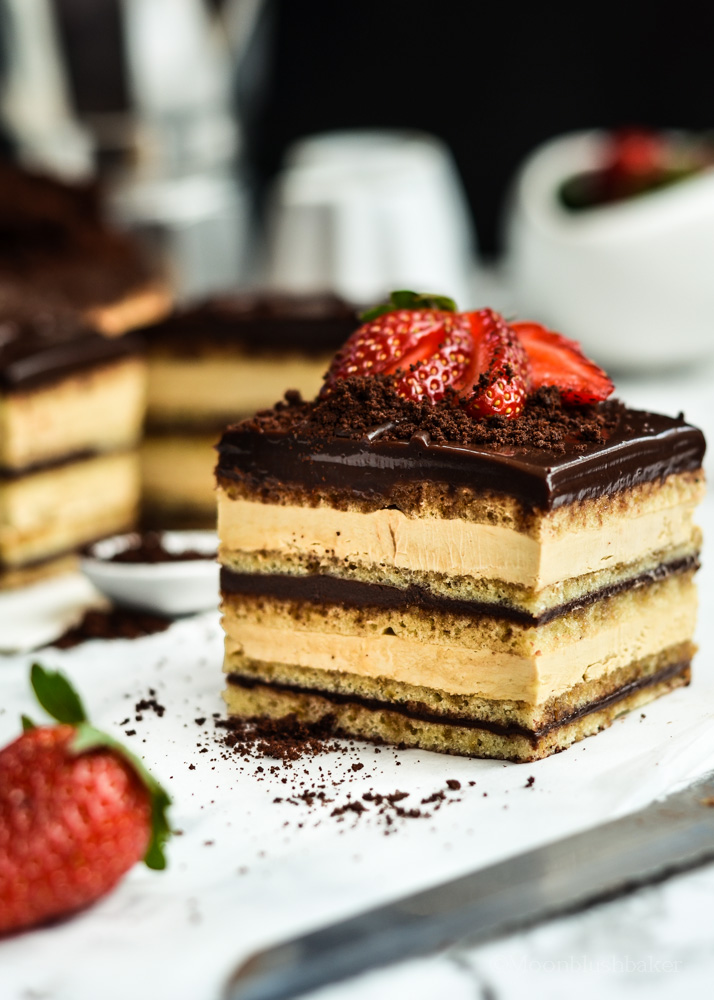
Opera Gateaux
Makes 16 pieces
Joconde ( you will need one and half of this recipe)
6 egg whites
50g caster sugar
280g almond meal
280g icing sugar
60g plain flour
6 eggs
60g butter melted
Coffee syrup
25g instant espresso powder
150ml boiling water
150g sugar
30ml Tia maria or Kahlua
Butter cream
6 yolks
250g caster sugar
30ml water
450g butter
2 tsp clear vanilla extract.
20g coffee powder with 10ml boiling water
Ganache
350g dark chocolate
250g cream
20g butter
To make the Joconde
Preheat the oven to 200C. Grease and line three 40 cm by 30 cm pans with baking paper or you can make thickers/more layers in smaller rectangle trays.
Using an stand mixer, whip egg whites on high until they reach soft peak. Turn it to medium and sprinkle in the 10g sugar, every 30 seconds until it is all beaten in. Turn it back to high and beat to thick and glossy. Move mixture into another bowl once stiff peak is reached.
In that same bowl, mix the almond meal, icing sugar, and whole eggs on medium just until the mixture becomes light and pale yellow. Fold in shifted flour into the almond batter.
Fold one scoop of egg white in to the almond batter to lighten it. Fold the remaining egg whites in to the lightened almond batter. Fold in the the melted, cooled butter into final mix. Divide the cake batter between the trays and bake the cakes for 5-8 minutes, until the surfaces spring back from a light touch. WATCH IT VERY CLOSELY!!!
Prepare two cooling rack with a lining baking paper. You will use this to turn out the cake once they are baked.
Once the cake is baked place the baking paper on top of the tin then your cooling rack. With your oven gloves hold the cooking rack and tray and quick flip it to invert. Remove tin. Peel back the parchment paper and cover the cake with a tea towel to prevent it drying out.
To make the espresso syrup:
In a small saucepan, set over medium heat, combine all ingredients for the syrup and bring to boil. Allow to cool in the fridge for 20 minutes before stirring in the alcohol.
To make the coffee buttercream:
Dissolve the espresso powder and boiling water and set the mixture aside for a moment.
Place egg yolks in a stand mixer with the whisk attachment, set aside.\
In a thick based saucepan, bring the sugar and water to boil. Continue cooking it until it reaches 118C on a candy thermometer. Begin to whip the egg yolks on hight. Remove the sugar syrup at 121C from the heat and allow the bubbles to disappear. Once the egg yolks have become very light and pale yellow pour in the syrup in a thin stream, with the mixer running on medium. Once the syrup is incorporated, turn it to high and beat to cool.
Change to beater attachment, on medium, add the butter, 20 grams at a time until it is fully incorporated into the buttercream. Add the cooled coffee mix and vanilla extract. The coffee buttercream is completely once it turns thick and fluffy.
To make the ganache:
Chop your chocolate finely and place in a metal bowl.
In a saucepan, set over medium heat, bring the cream to a boil. Remove the pan from the heat and pour on the chocolate. Leave to melt for 90 seconds. With a spatula gently stir the mix once it is all smooth. Add butter and combine. Divide the mix into two bowls, one with 1/3 and other with 2/3 of the mix. Allow the bigger bowl to set in the fridge for 30 minutes. Allow the smaller one to set at room temp.
Assembly
Line a large baking sheet with parchment paper. Divide each layer cake in half and place one cake it on the baking sheet. Brush the cake with the espresso syrup. After cover this layer with the ganache about 1-2mm. Place another layer of cake on top and brush cake with syrup. After spread out the butter cream in an even 2-3mm layer. Repeat these step until all cake is used. Chill the cake for 1 hour.
For the glaze topping take the smaller bowl you set aside from the ganache. If it is too hard melt it over a warm water in saucepan until smooth. Pour the glaze over the cake. Fridge for 2 hours before cutting.
Once cooled and set. Cut a 16cm by 16cm square from the cake with a warmed knife, cleaning it after each cut before service
Your photography!!! Its breathtaking...This cake looks so good that I want to go inside the screen and eat it!! Insane!
ReplyDeleteami@NaiveCookCooks
Thank you Amishi. This was such a hard shoot with crappy light, so it makes me happy you like it so much.
DeleteAbsolutely gorgeous! Can't believe how perfect it looks!
ReplyDeleteFar from it but the taste is pretty much there. BTW I love your screen name!
DeleteWow, this is perfect and scrumptious! Gorgeous recipe and blog! I'll be coming back for sure!
ReplyDeleteAww I love when I get a new fan!
DeleteI hope I can keep it up the standard for you Afner.
In the directions, you divide the batter between 2 pans and then you cut those 2 pans in half, this gives you 4 pieces of cake. In the picture you have 5. How did you end up with 5?
ReplyDeleteOh I am very sorry Miranda! I forgot to tell you guys I had extra layer from testing the recipe. I will change it to give you guys 3 sheets.
DeleteThank you for pointing out my mistake
Wow -- that is GORGEOUS!!! But can I ask how you cut it? When I cut a cake it never looks like that.
ReplyDeleteThank you lovely! Hot knife is the trick
DeleteLovely! I haven't made the opera cake in ages, but your post makes me crave some. I remember the first time I made it was when I was in culinary school and another student's cake (which was placed on the rack directly above my cake) collapsed on mine. So all I could do was present the salvaged piece that was barely presentable. The teacher was understanding about it though.
ReplyDeleteI am sure it turn out delicious in the end!
DeleteAww at least they were kind about it, however look at it this way you can always try and make this tasty cake again.
This looks pretty darn amazing! And yay for no gelatine (so often patisserie has gelatine added in some way) :)
ReplyDeleteGelatine? Not on my watch!
DeleteThanks Ramona