
A long time coming but I finally post my niece’s! Year Old birthday! Sorry I lost the photos in my files. Anyway, enough with me Lily once again is the super nova of this post ( ha-ha I am being Pun-astic). You will understand when you see the theme is twinkle twinkle little star. So let me photo bomb you with lots of pretty cake pictures!

A light box for the event.
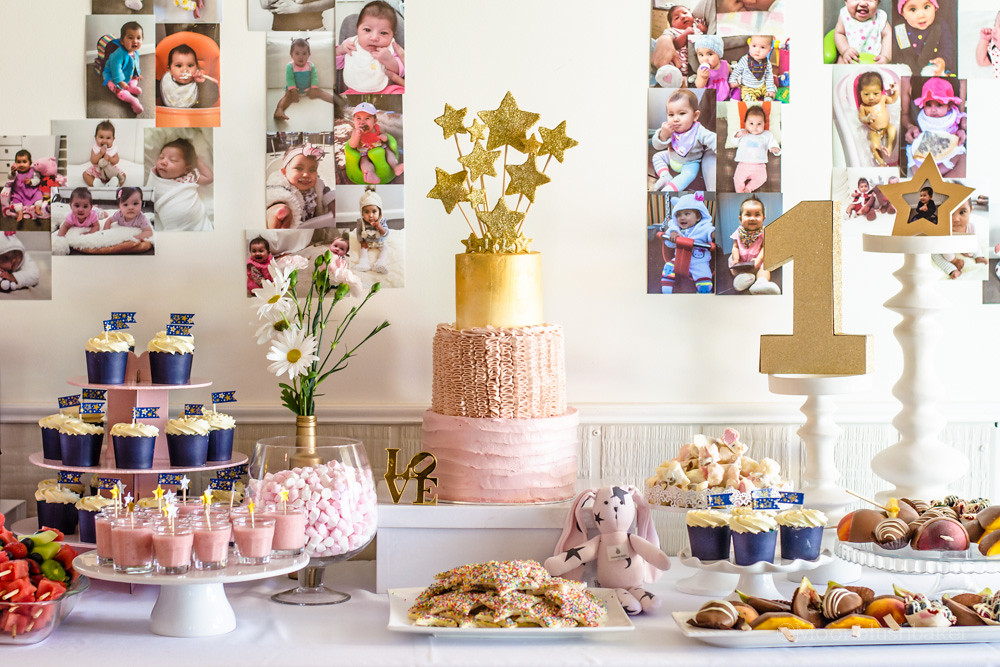
Dessert and cake table.
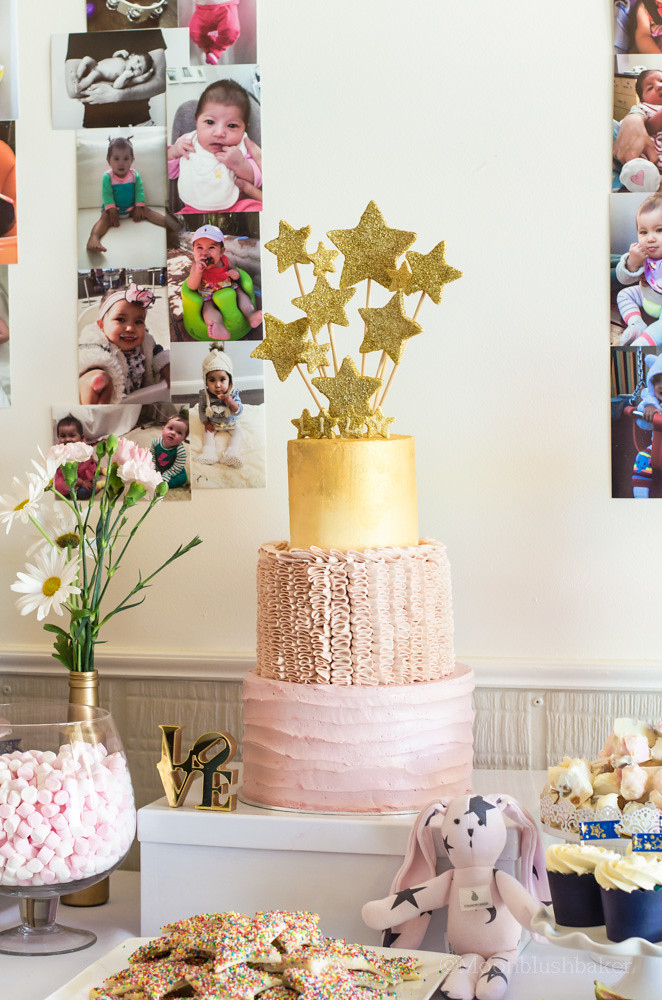
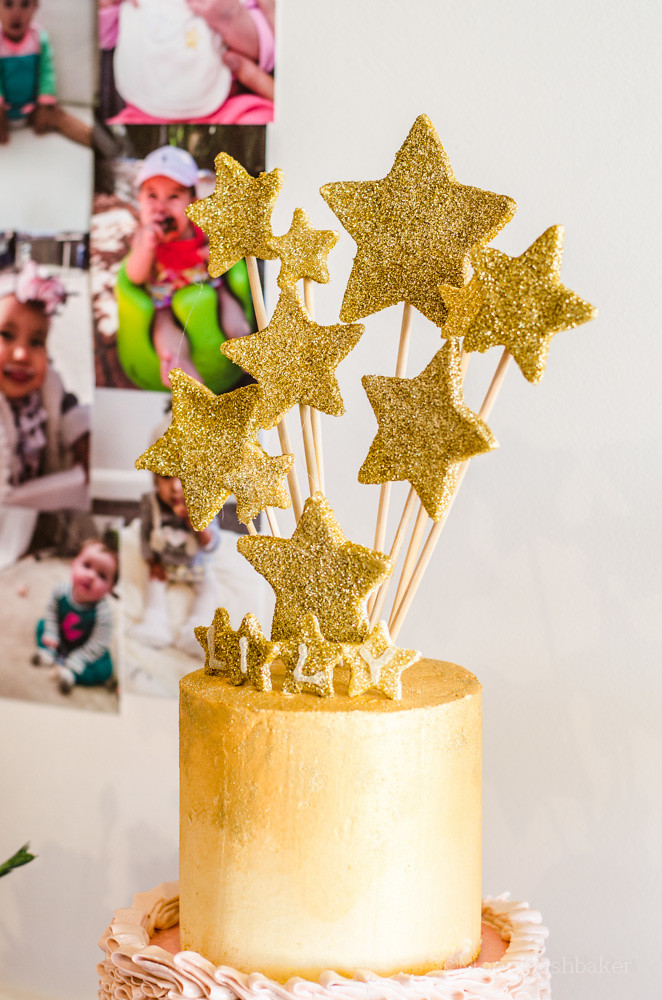
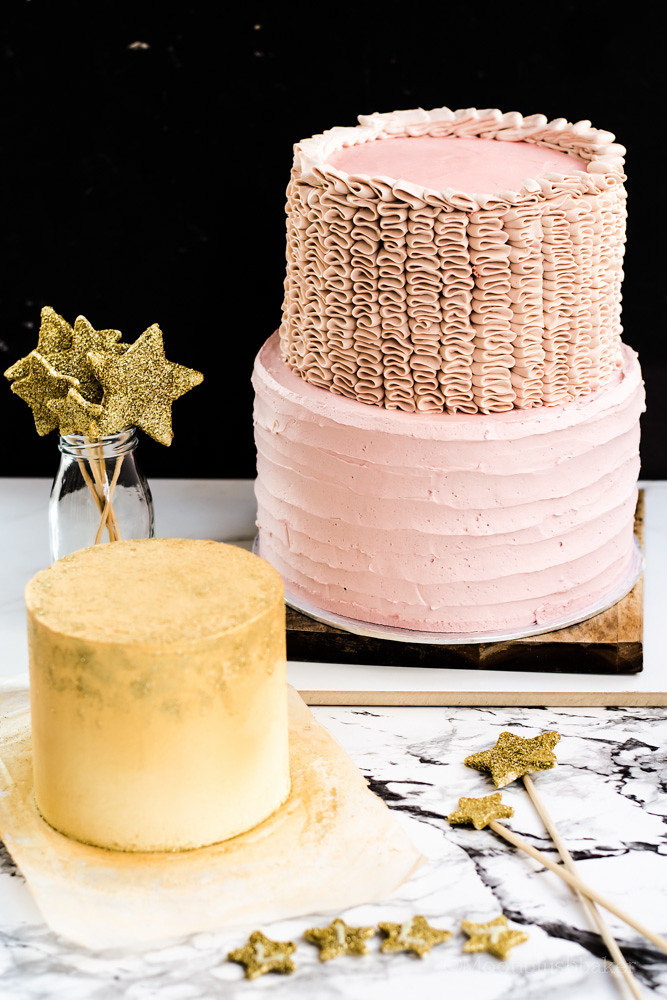
Close up the cake plus final assembly.
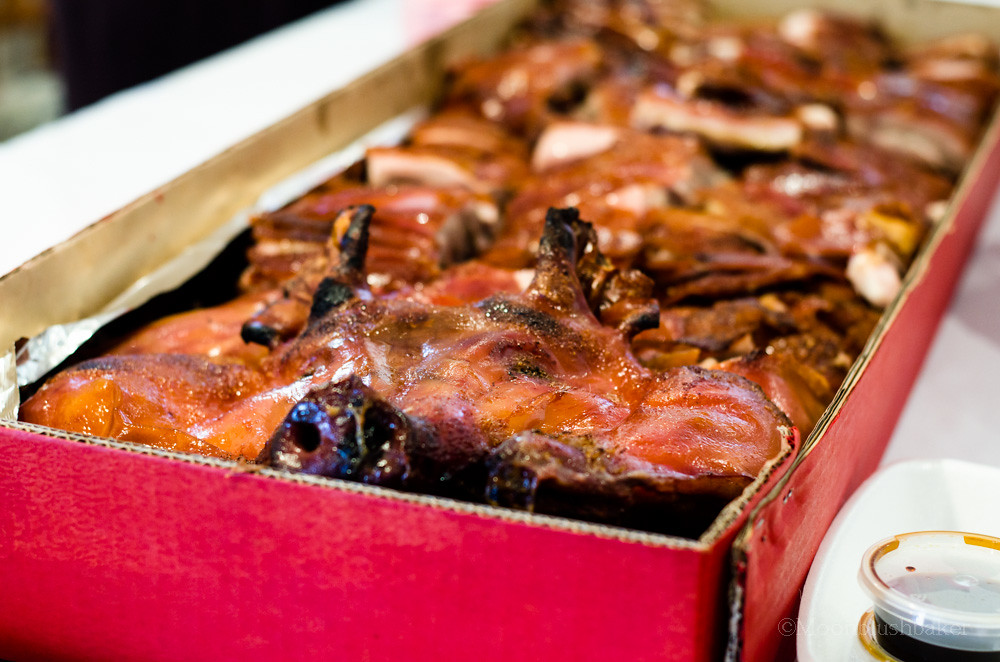
We had a WHOLE roast pig. Seriously yum for the meat eatters.
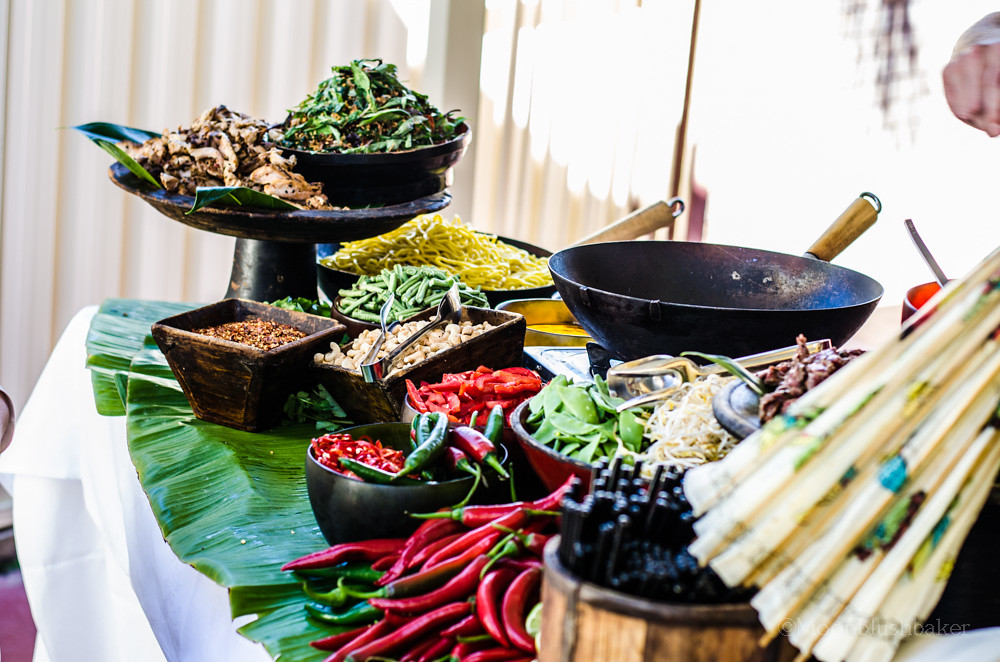
We had a stir fry bar where you could customize your own salad. Very Very good.
The other things we had the party were White chocolate rocky road, fairy bread, lemon punch, chocolate coated fruits, blue velvet cupcakes( made by me!), Stars rice crispyies, candy jars, fruit skewers and straw berry mousse. Of course all these were lovely provided and home made her friends.
Such a happy party!

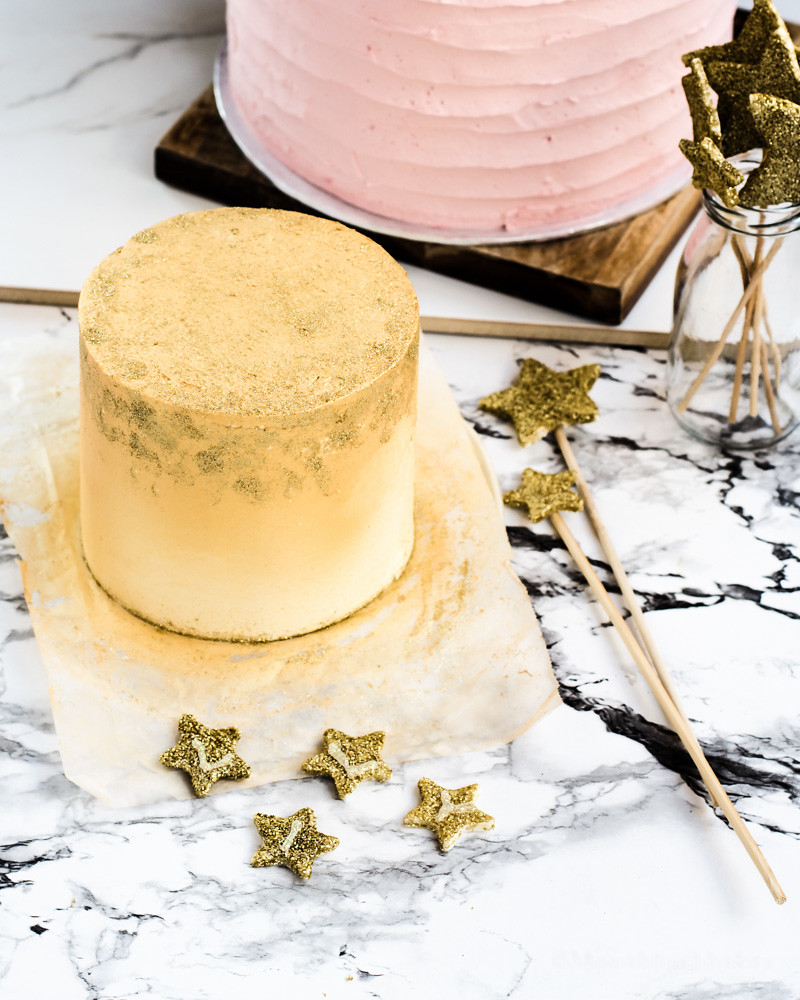
Well for an event like you will need a cake which is easy to do and almost no fail. This is the first time I have tired the butter, sugar and flour emulsion before adding the eggs and milk (or liquids).
Verdict? Completely sold! The cake comes out nicely risen but flat enough to not have to cut off extra bits for layer cakes. The texture is firm but not as heavy as a butter cake, with evenly distributed crumb making for melt in the mouth eating. Also you do not have to do it in a stand mixer as rubbing in the butter to the flour and sugar is just as good.
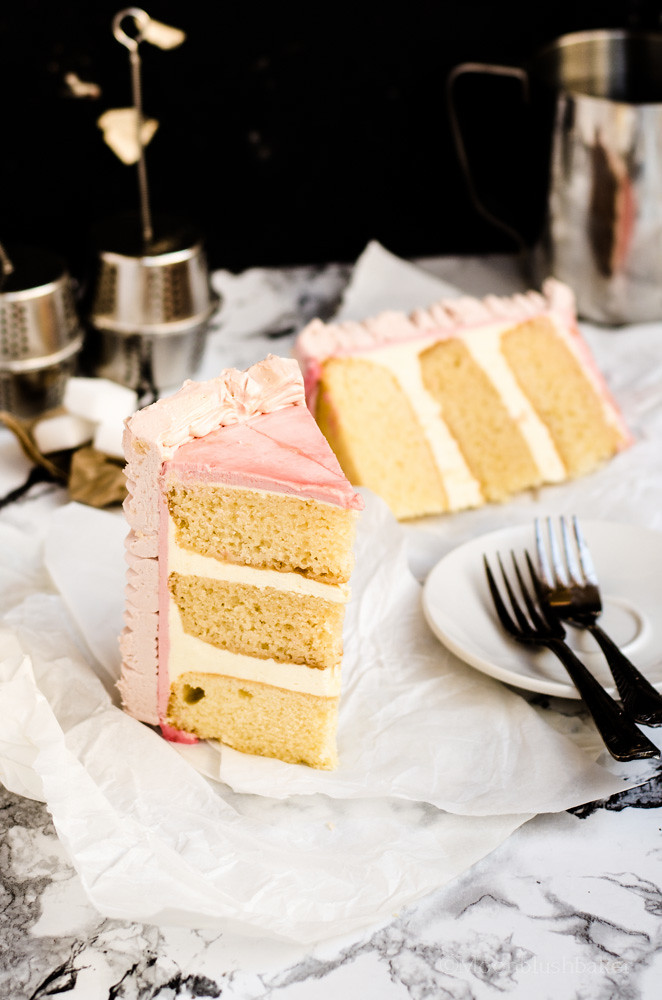
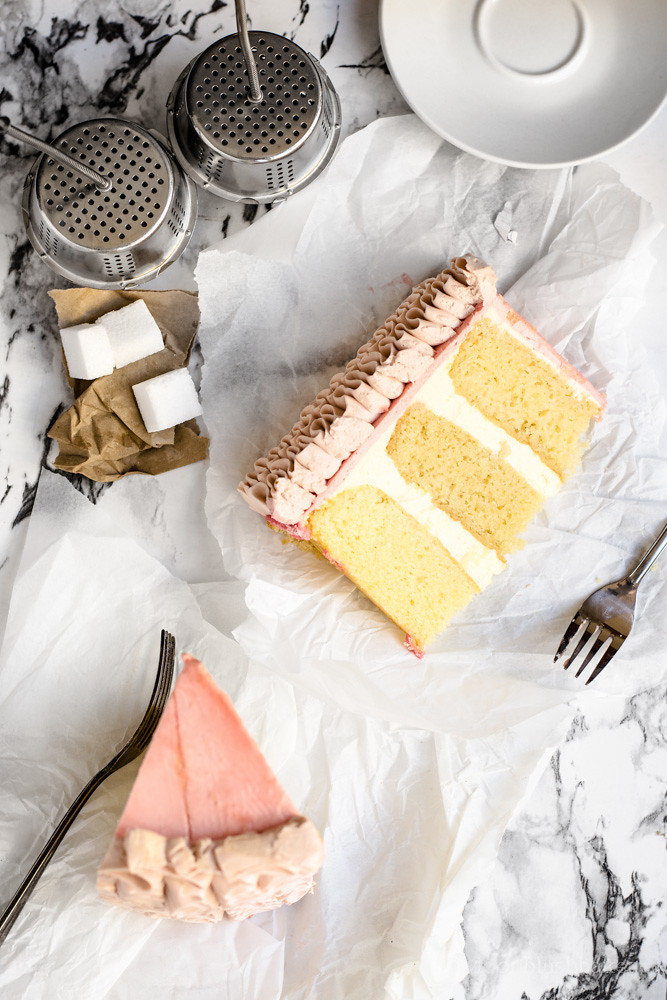
I used this type of butter cream as it is tasty, taste of vanilla and stable as a rock. I have keep this butter cream out for 4 hours in hot temps and it is still holding up.
You will need a few extra things for this cake as layered, tiered cakes require more support and tools.
- These things are
- Wooden dowels
- heavy duty cake broads
- off set spatulas
- turn table
- butter cream ( one that is very stable)
- Piping bags
- A lot of disposable clean cloths like Chux
- Sharp knife
- Ruler

I got a lot of help from sprinkle bakes tutorial for her cake to feed 100. This is more suited for people in the USA as the products are all found in the Northern hemisphere however I adapted it to make it more Aussie friendly. You will be able to find all of these products from Aussie cake suppliers and most websites ship to Australia.
The pans I use here are a 10 inch spring form pan, 8 inch spring form pan and 5 inch pan. I lined them all with baking paper ( bases and sides). The stars are made from fondant and coated in edible glitter.
This cake is over the top and grand. If you like one layer I have included how I done it. All techniques are very forgiving and easy with stable butter cream.

Perfect one bowl vanilla cake
360g all-purpose flour
400g granulated sugar
18g baking powder
6g flake salt
120g unsalted butter, softened
3 large eggs plus one egg white
180ml sour cream
180ml milk
3 teaspoon clear vanilla extract
1 teaspoon almond extract
Preheat the oven to 160C degrees and line baking pans with baking paper.
Place the flour, sugar, baking powder, salt and butter in a large mixing bowl, and mix on low speed to combine. It should take the texture of fine bread crumbs.
Add the eggs; one at a time. Stop to scrape the sides and bottom of the bowl. Mix until combined. Remove from stand mixer.
Add the sour cream, milk and extracts. Stir and Fold in well until fully combined. Do not over mix. It is easier to not over mix by hand mixer than doing it in the stand mixer.
Fill the pans half full and bake for 25-30 minutes, or until a bamboo skewer inserted in the middle of cake comes clean and the sides are pulling away from the pan.
Cool in tin then turn out on a wire rack.
Italian Meringue Cream Cheese Butter Cream
240g plus 115g caster sugar divided
160g water
300g egg white
620g butter, cubed
350g,cream cheese, soften And cubed
2tsp vanilla extract
At the same time, in a sauce pan combined sugar and water. Place on stove on medium heat. You are making sugar syrup. Place in sugar thermometer.
Once the sugar syrup has reached 113C. In a stand mixer beat egg whites yolks until foamy and fluffy ( soft peak).
Heat the syrup, swirling to evenly distribute heat. Bring the sugar mix to 118C.
Once it reaches this temperature, remove from heat. With the stand mixer running on high, drizzle the syrup into the bowl of egg whites. Make sure to pour down the side to avoid the beaters.
Continue to beat until this mix is room temperature. About 7 minutes
Change to paddle.
Add the butter slowly on medium speed. Scrape the bowl often. Continue this process until all butter is added.
Add cream cheese and vanilla flavour beat on high medium until fluffy. Set aside.
For the outer coating butter cream
Italian Meringue Butter Cream
240g plus 115g caster sugar divided
160g water
300g egg white
900g butter, cubed
7g sea salt
2tsp vanilla extract
At the same time, in a sauce pan combined sugar and water. Place on stove on medium heat. You are making sugar syrup. Place in sugar thermometer.
Once the sugar syrup has reached 113C. In a stand mixer beat egg whites yolks until foamy and fluffy ( soft peak).
Heat the syrup, swirling to evenly distribute heat. Bring the sugar mix to 118C.
Once it reaches this temperature, remove from heat. With the stand mixer running on high, drizzle the syrup into the bowl of egg whites. Make sure to pour down the side to avoid the beaters.
Continue to beat until this mix is room temperature. About 7 minutes
Change to paddle.
Add the butter slowly on medium speed. Scrape the bowl often. Continue this process until all butter is added.
Add salt and vanilla flavour beat on high medium until fluffy. Set aside.
Assembly
One recipe of Cream Cheese butter cream
One recipe of Plain Italian Meringue Butter Cream
Triple recipe of Easy, One bowl vanilla cake (you will have extra depending on how full you fill the cake pans.)
All the equipment listed above
Food colours
Glitter spray
Glitter powder
Tutorial from Sprinkle Bakes, for a large dowel cake.
Once you have all these things, I recommend you do Exactly what sprinkle bakes has wrote in the tutorial as it includes pictures. Please do not be intimated by the large amounts listed. The cake is simple 3 normal layer cake staked on each other. Of course because of the weight you will need extra support but she goes through that in her tutorial. After this you if you want the three textures I got on this cake follow the instructions below.
For smallest cake
Place on turntable With White butter cream do the final smooth coat of butter cream
With a glitter metallic gold spray, spray the top with a light coat of the gold working your way done half way to achieve an ombre affect. Continue to layer it until you get the colour you like. Once it is dry, sprinkle glitter on the top of the cake.

For middle cake
Place cake on turn table. Do the final layer coat in light pink. Fill a piping bag with a ruffle tip (Wilton #103). Hold bag vertically to side cake; with middle pressure move the piping bag side to side up the cake until you reach the top. The ruffle should sit on top of each other. Continue to do this until you have covered the whole cake.
Fridge for 40 minutes

For the largest cake
Do the final coat of butter cream making it as flat as possible.
Finish the cake by holding the tip your offset spatula at 160 degree angle. Warm up you blade. Pressing gently on the frosting at the bottom of the cake. Smoothly spin the cake turntable while simultaneously dragging the spatula up the side of the cake, stop when you get to the top. Wipe the spatula clean with a towel whenever needed and continue again.
To finish the top, press the spatula tip in to the centre of the top of the cake. While turning the turn table, move the spatula slowly to the outer edge of the cake; creating a continuous circle. Fridge for 40 minutes
Finish off the cake by placing all the layer on top each other. Fix any edges or boos-boos with pink or white butter cream. Place the toppers which are simple cut out fondant, piping glue brush over and coat it in the glitter. You will need to make these 7 days ahead.


i dont even know what to say to these photos. they make me speechless they are so perfect!
ReplyDeleteThank you Kelsey. That is so reassuring for a budding photographer!
DeleteOh my homy, gorgeous!
ReplyDeletekiss
from
Greece
Indian foods are very spicy and tasty, thanks for sharing....!
ReplyDeleterestaurants in south delhi